250ml can 3d printer frame


250ml can 3d printer frame
Published 2018-02-27T15:31:24+00:00
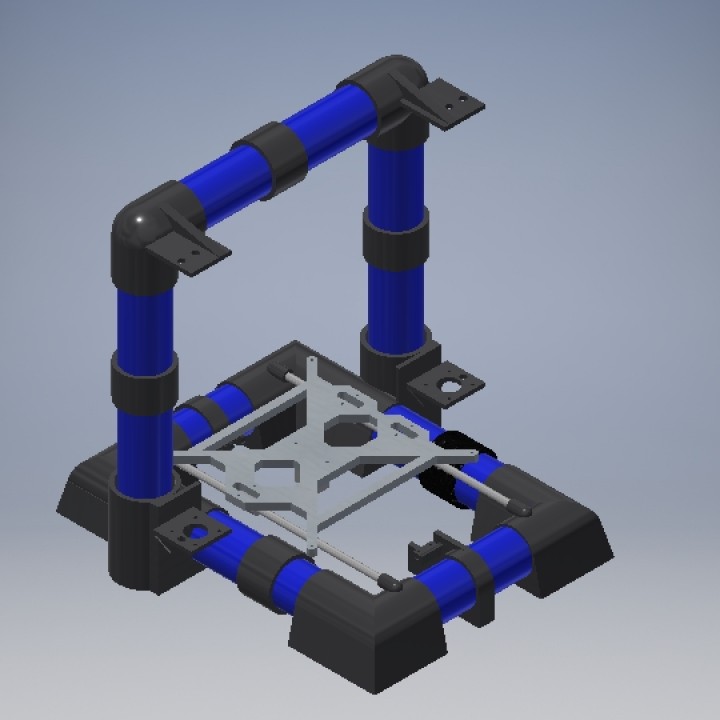
250ml can 3d printer frame.
Want to have the most ghetto 3d printer possible? Well here is 3d printer frame made out of 250ml drinks cans.
Warrning! This is not for those who are new to 3d printing, nor should be the first or only 3d printer.
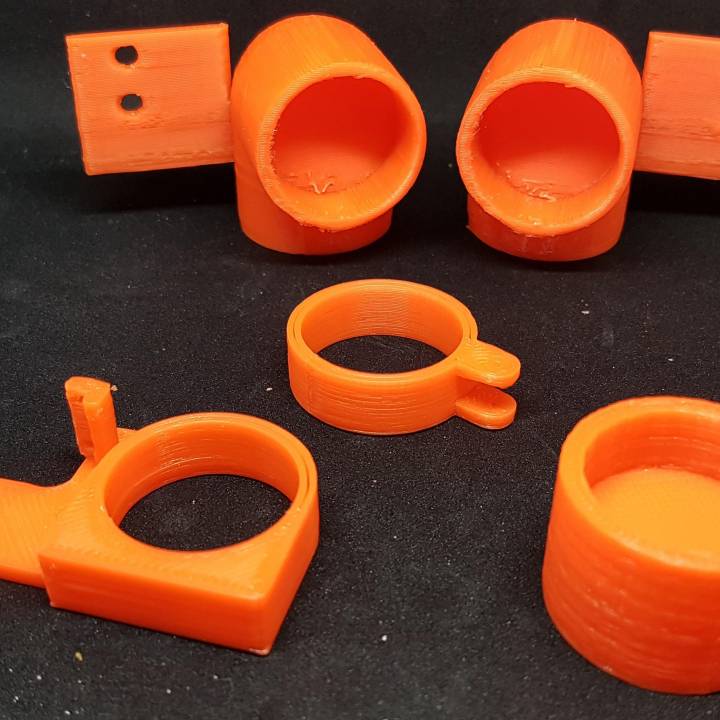
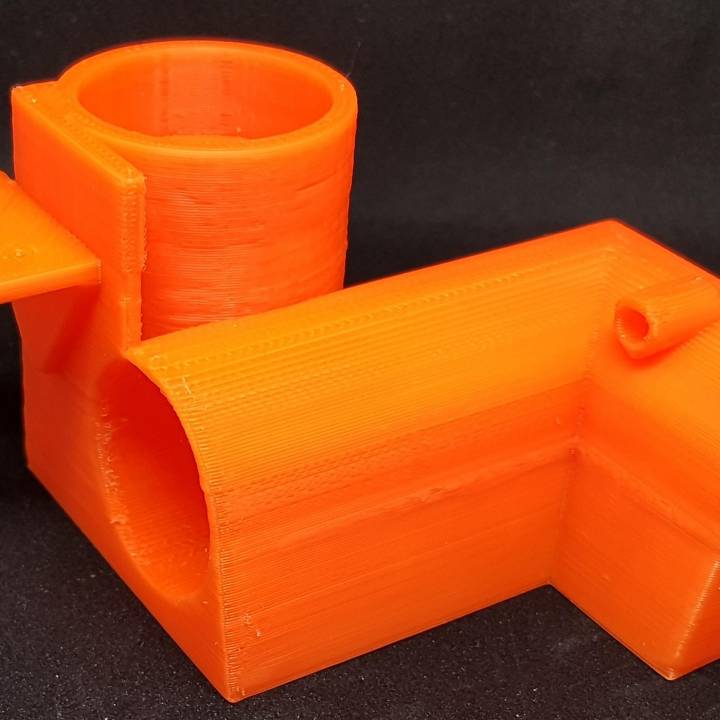
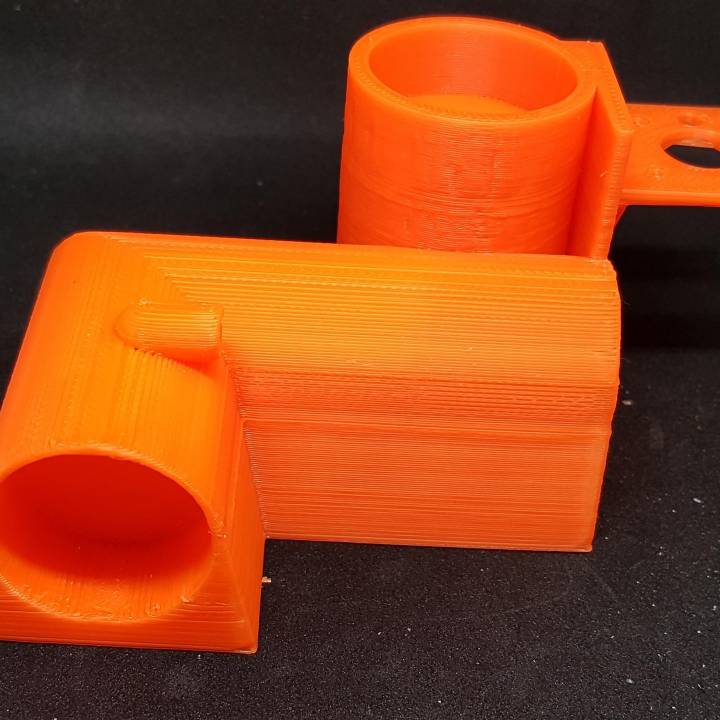
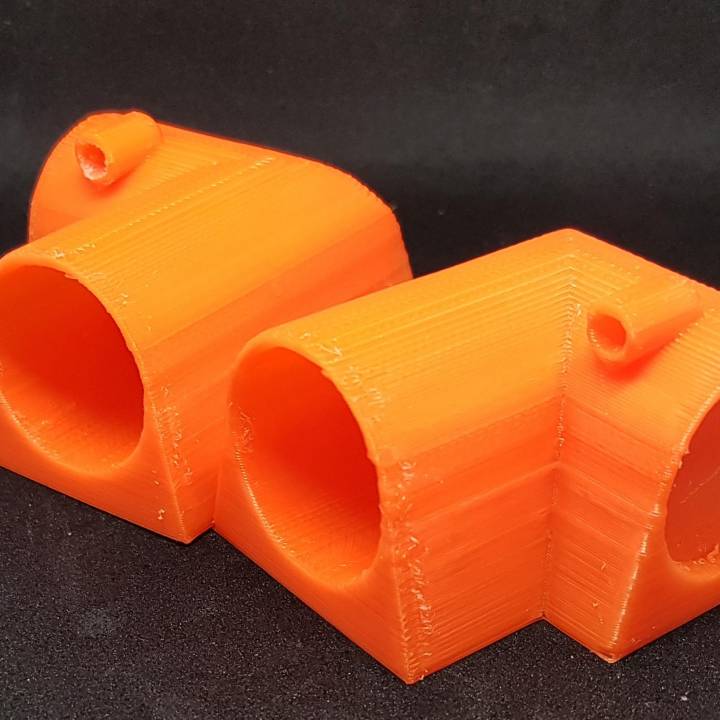
Bill of materials
1x part 1 left
1x part 1 right
1x part 2 left
1x part 2 right
5x part 3
1x part 4 left
1x part 4 right
1x part 5
1x part 6
Parts to source list
12x 250ml cans preferably empty
100K BTC with cable
12V 20A power supply
A4988 driver x4
Arduino Mega 2560 clone
Mechanical endstop boards x2
RAMPS 1.4
Reprap 14pcs wire set
Reprap heated bed aluminum
1.2mm Extruder springs (pack of 10)
2x4mm bowden tube
50mm radial fan
5V M8 inductive sensor
625 bearing pack of 10
E3D v6 Jhead with fan and thermistor
Hobbed gear
2.5x100mm zip ties x100
5x5mm flexible coupler x2
8mm smooth rods, 320m, 330 or 350mm, 370mm 2 of each
GT2-2M 16T idler pulley, 3mm bore x2
GT2-2M 16T pulleys, 5mm bore (set with belt) x2
GT2-2M 6mm belt (often just called "GT2") (set with pulleys) 2m
LM8UU bearings x10
NEMA17 stepper motor x5
M5 threaded road 1m
X-axis assembly recommend the one made by Thomas Sanladerer for his cheep i3 mk2 clone project, this can be found on his web site.
Y-axis belt holder, again recommend the one from Thomas Sanladerer.
Y-carriage, you can be buy this off any number of sites, but you are making a 3d printer out of cans, Thomas Sanladerer has a PDF of the Y-carriage on his website, download and cut out of scrap wood, it will fit the theme better.
Hot glue gun, supper glue could work but I would recommend a glue gun
Note fittings are only given for parts that attach directly to the parts in this download; the fittings for x-axis and Y-carriage are not included as you could get a different set up.
Bolts for the frame.
M3x10 x11
M2.5x10 4
Nuts for the frame
2.5 nuts
Assembly guild
Part 1 left, putt cans in both holes and glue, add 320mm rod.
Add part 5 to the can on part 1 left assembly that will be facing part 1 right, do not glue, this needs to be cantered so add part 1 right to help align. When aligned add glue. Between either part 1 and part 5 there should be a 31mm gap.
Add 320mm rod and 250ml can to part 1 right.
Take Part 2 left and add 250ml cans to both sides.
Attach motor to part 6 with m3x10, 3 required.
Add part 6 to part 2 left assembly, same as per part 5 do not glue in place until part 2 right is added. This should be 51mm from ether part2 left or right.
Add 625 3x bearing to 320mm rod on part 1 assembly, one on one rod, two on the other.
Add 2x part 3 to part 1 assembly, one on ether can.
Attach part 1 assembly to part 2 assembly.
Add 2xmotor to z axis, 4xm3x10 for each.
Add 5x5mm flexible coupler to motors.
Cut m5 threaded rod in 2 and attached to 5x5mm flexible, Add 320mm rods to holes next to motor. For extra ghetto points leave the m5 over lapping, for practicality cut m5 rod to fit.
Add 250ml cans to part 4 left and right. Add part 3 between part 4 left and right.
Add part 3 to bottom 250ml cans on part 4 assembly.
Add 250ml cans main assembly.
Fit x-axis assembly to main assembly.
Attach part 4 assembly to main assembly.
fin


none
| Date published | 27/02/2018 |
| Time to do | 5760 - 6000 minutes |
| Material Quantity | 2000 grams |
| Dimensions | 212,50x156,5x100mm |
| Technology | FDM |
| Complexity | Easy |