boardturner


boardturner
Published 2018-05-30T16:17:19+00:00
turn your boardgame with the boardturner
This boardturner will change your game in a 360 degree way.
All kind of rectangle or square board games can be put on this turner cause of the topsliders with pin and beam with holes.
Simply put the board on top of the turner, slide the sliders over the sides of the board, put the pin in the holes to lock the sliders and the board is ready for playing
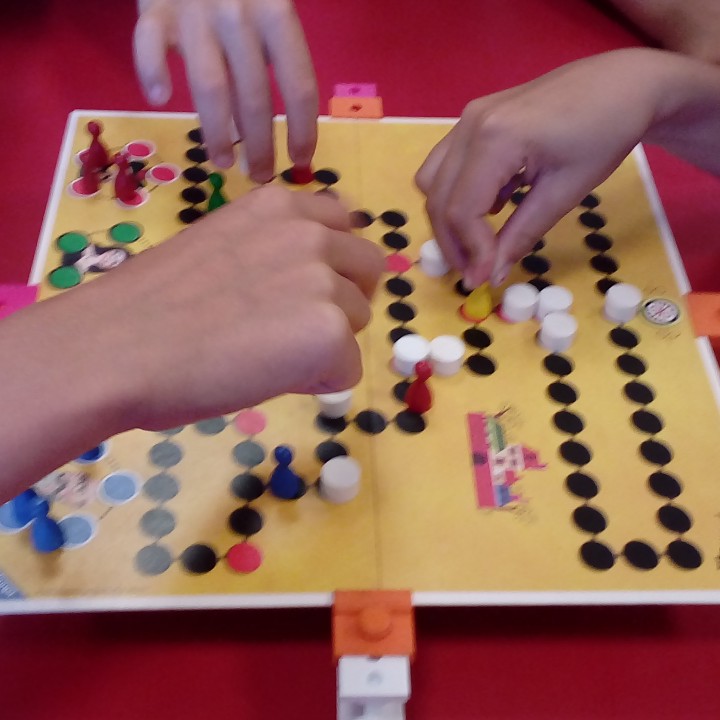
All seated around the table, with most boardgames ,the problem is that some of the players have to look upside down ,which is a shortcoming for a lot of boardgames in my opinion.
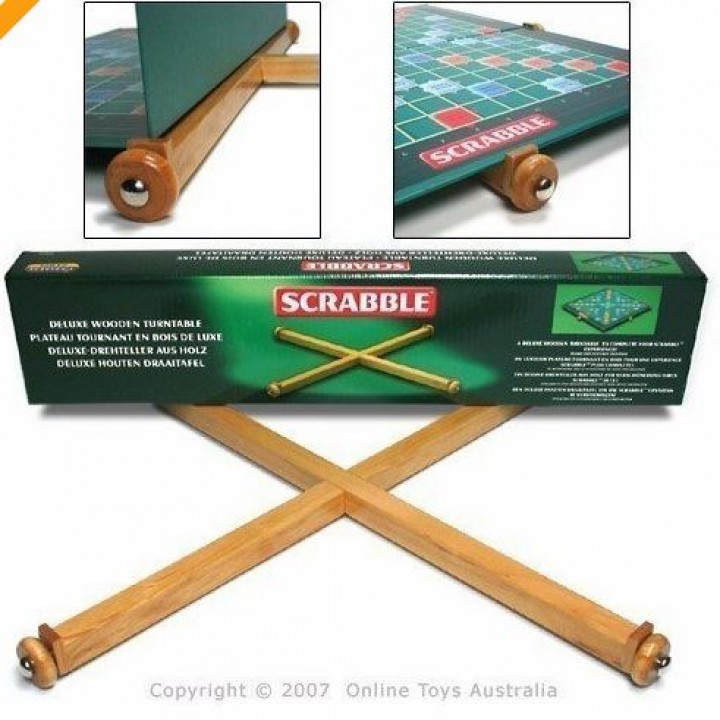
When I was young I played the game Scrabble a lot and this is such a game which has the above written problem.
My parents therefore bought a special wooden boardturner which i now upgraded to use with more boardgames and designed for 3d printing.
When it's your turn , just turn the boardturner ,so the board is in front of you and you can play your turn...simply then give the board a twist to the next player and so on....
For easy use and storage i designed special connectors to put the beams together and after playing a boardgame , the beams can be taken apart easily. h
How to connect the turner/How does it work?/Whats needed?
*print all the pieces*
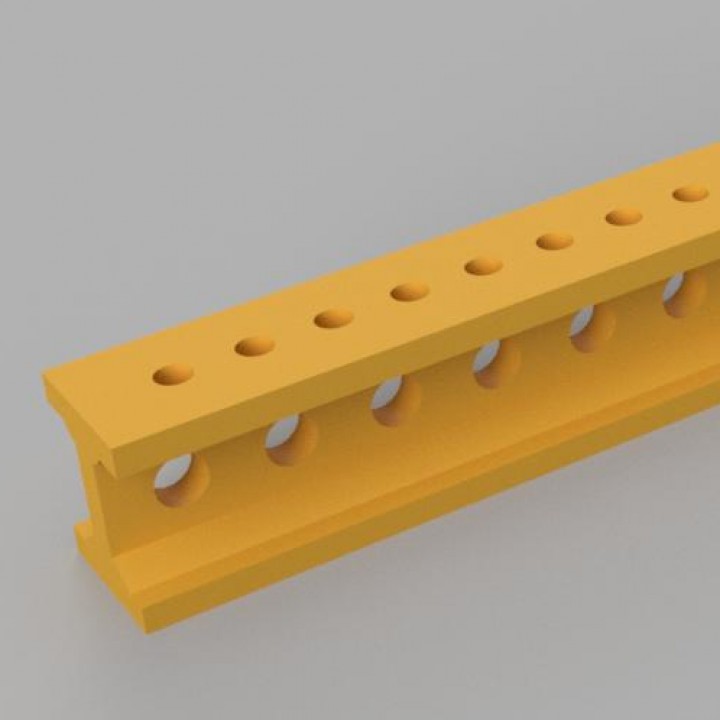
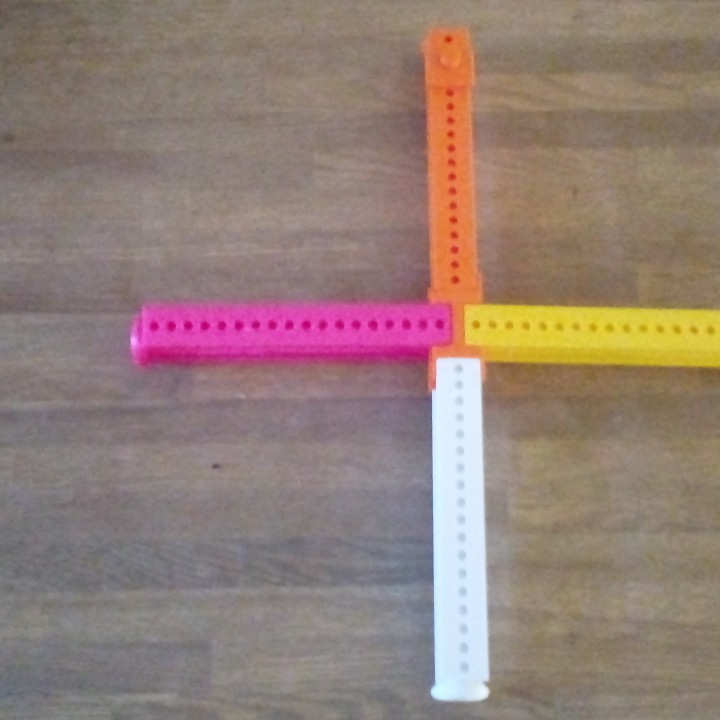
-8 beams with holes on top ( they all have a hole on top for the wheels to connect)
-4 beamconnectors
-4 bigwheels
-1 crossbeamconnector
- 4 topclipsliders
- 4 pins
not printable ...
-4 m4 screws long near 20 mm
-screwdriver
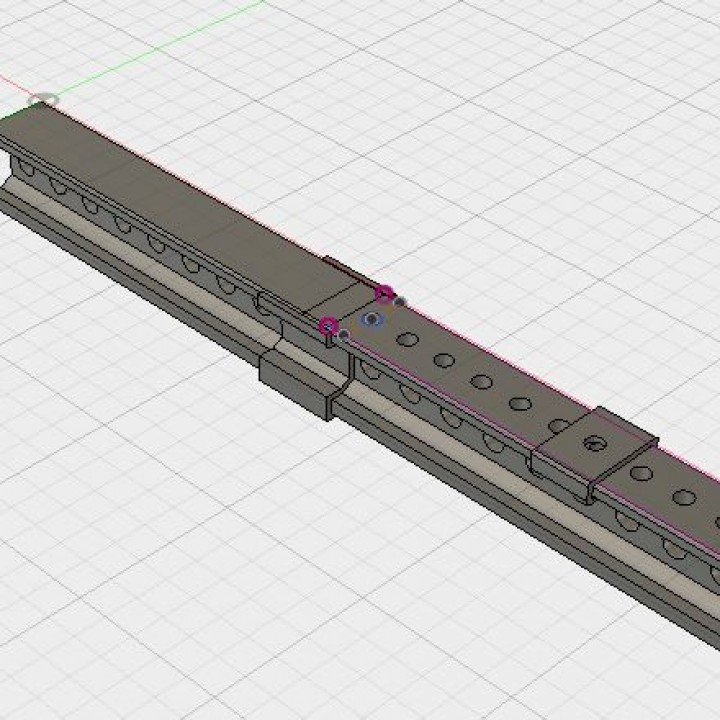
*Start with connecting one beam to another , with the help of a beamconnector ,where its important that the holes in both beams face upwards and that one beam with the hole for the wheel is on the outside (see picture 3, in this picture one beam has no holes for design features)
do this for all the other beams left the same way.
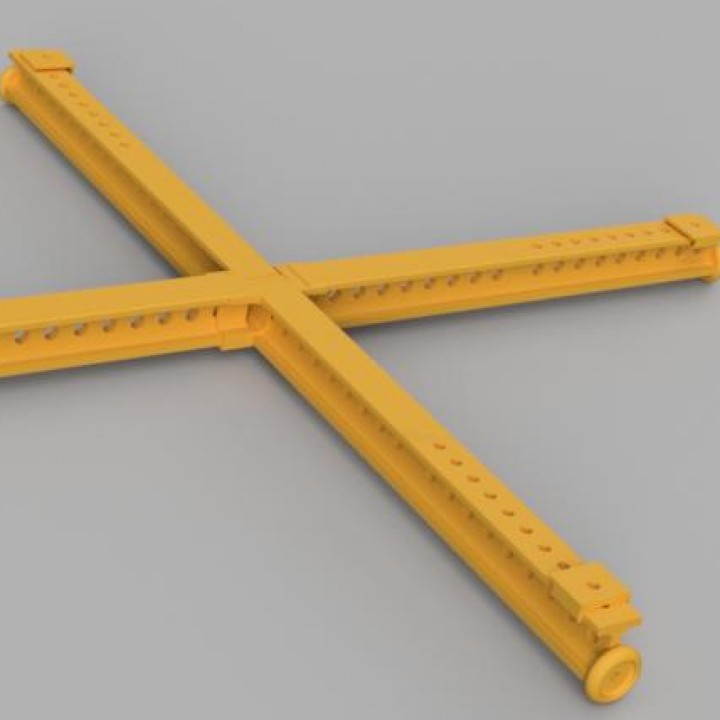
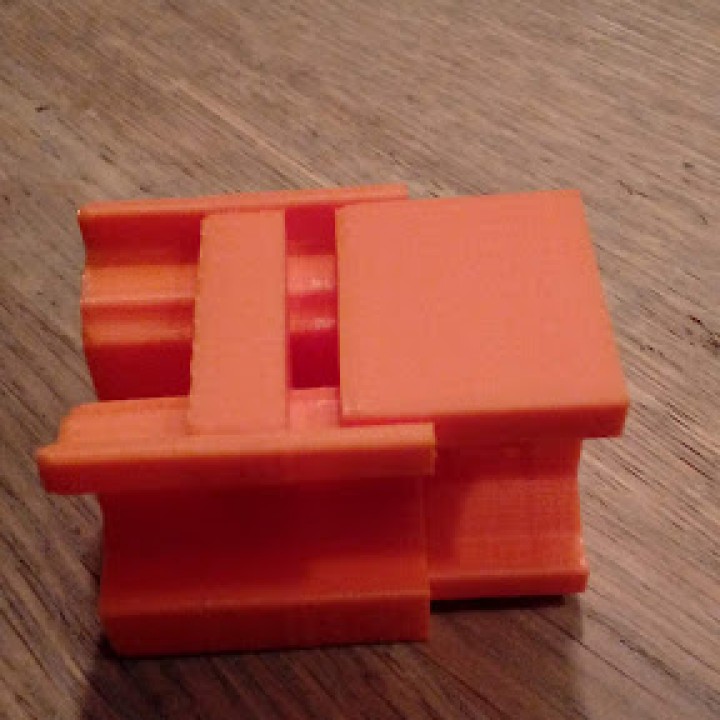
*Get the crossbeamconnector and put all the beams in at one side of the crossbeamconnector(see picture 1)
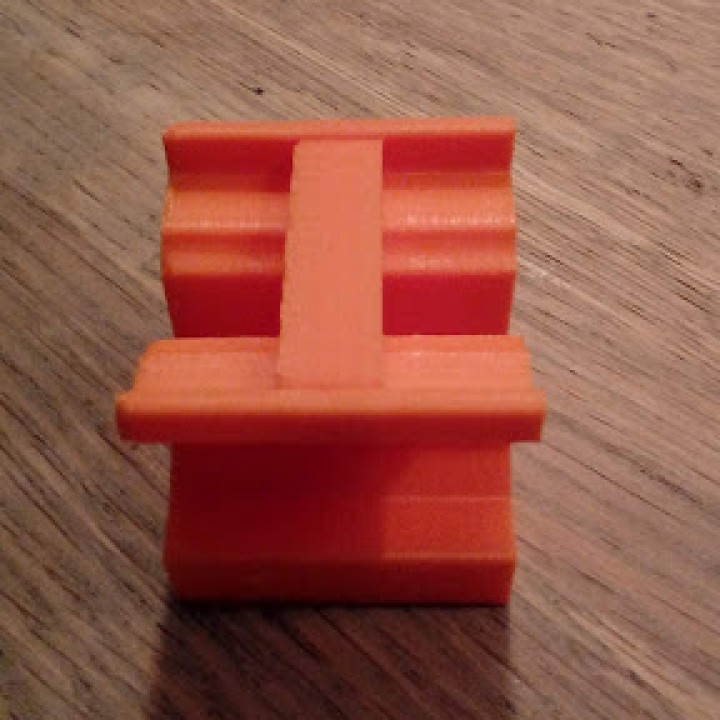
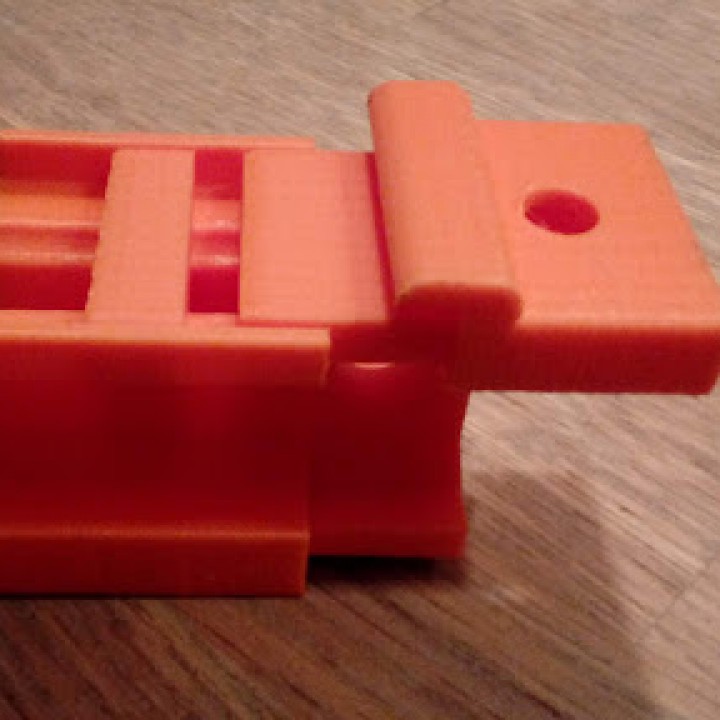
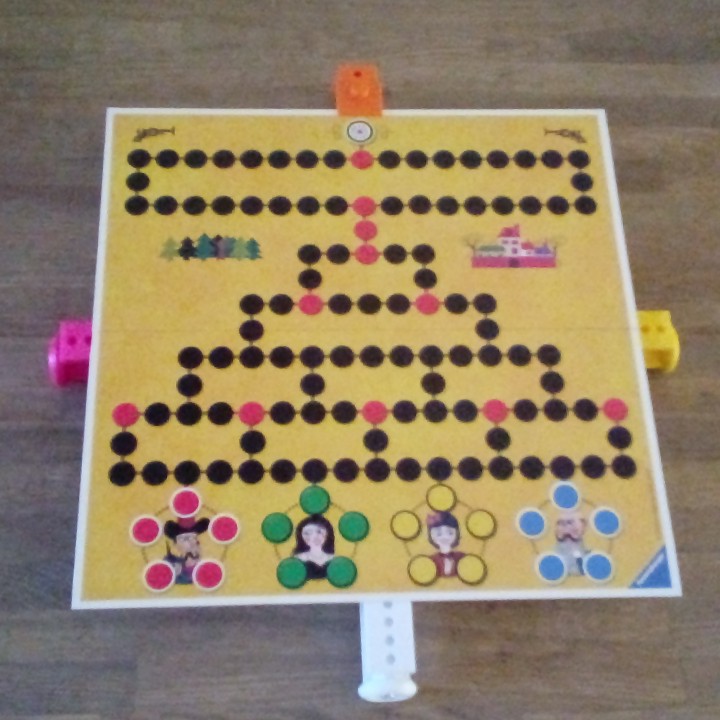
* Take the 4 topclip sliders, slide them on top of the beam with the hole where the wheel connects.
slide them on with the lip facing the board, when installing the board the lip will slide over the board and can be locked with the pins (see picture 7 and 8)
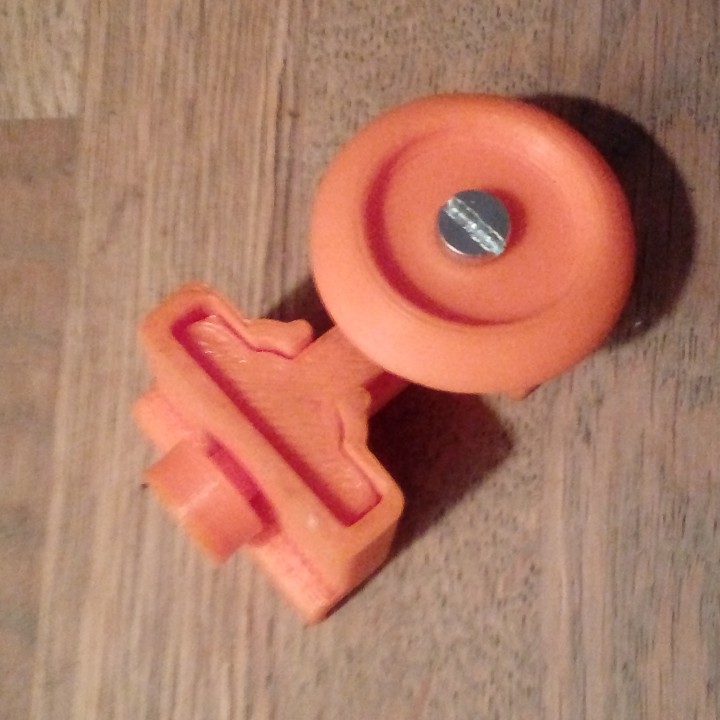
* At last get the bigwheels and the 4 m4 bolts, look at the upperside of the beam and see there is a screwhole there.
Take a wheel put the bolt in the hole of the wheel and then screw the wheel onto the beam (not to tight so the wheels can turn/roll smooth see picture 8)
*Get your board , put it on top of the boardturner and after that is done, slide the sliders to the right size, so the lip of the sliders will fall over the board, lock the sliders with the pins and ....DONE, have phun playing....
IMPORTANT :
when testing i found out that when a board is smaller then 2 connected beams and won't fit only one beam with the wheel can be used and the beamconnector and second beam are not needed
TIP:
don't turn the boardturner to fast around when you play for example scrabble, pieces then won't fall off the board.
*update :
- made more holes in the beams for better connections to more different boards
- made beams slighty longer so smaller boards will fit only with one beam
- working on another way to connect the beams for less printing time (dovetail connector)
my special thanks go to: Fred Genius my fusion360 tutor


print settings:
important !!! print all beams vertical standing up, therefore not very much support is needed.
| Date published | 30/05/2018 |
| Technology | FDM |
| Complexity | Easy |