Amazon Echo Dot Lighting Dock


Amazon Echo Dot Lighting Dock
Published 2019-02-03T22:55:10+00:00
Good Evening or Morning! (small revision to M3 instead of M4 for the assembly screws)
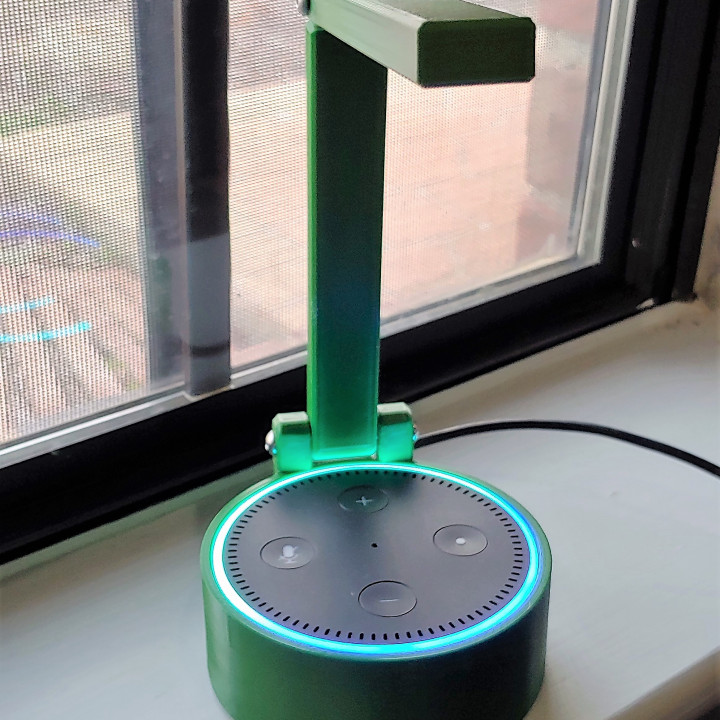
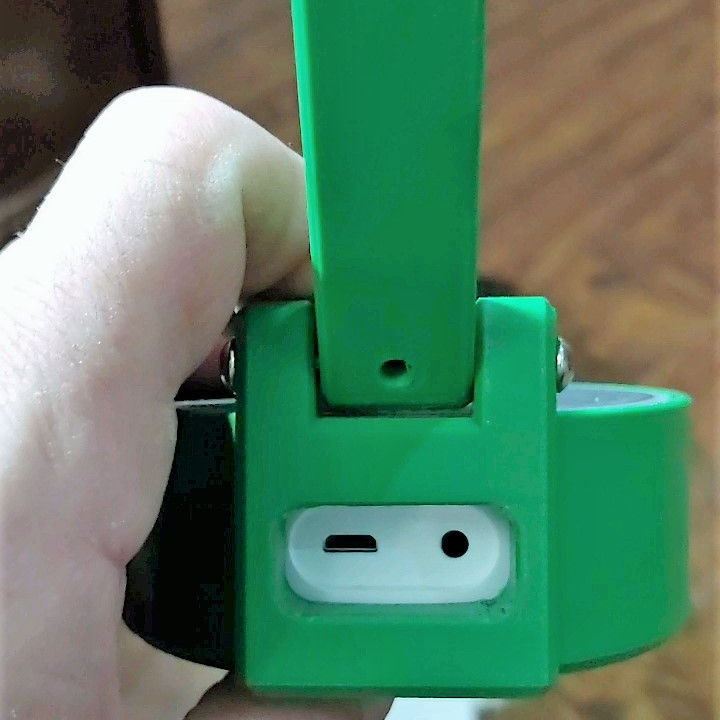
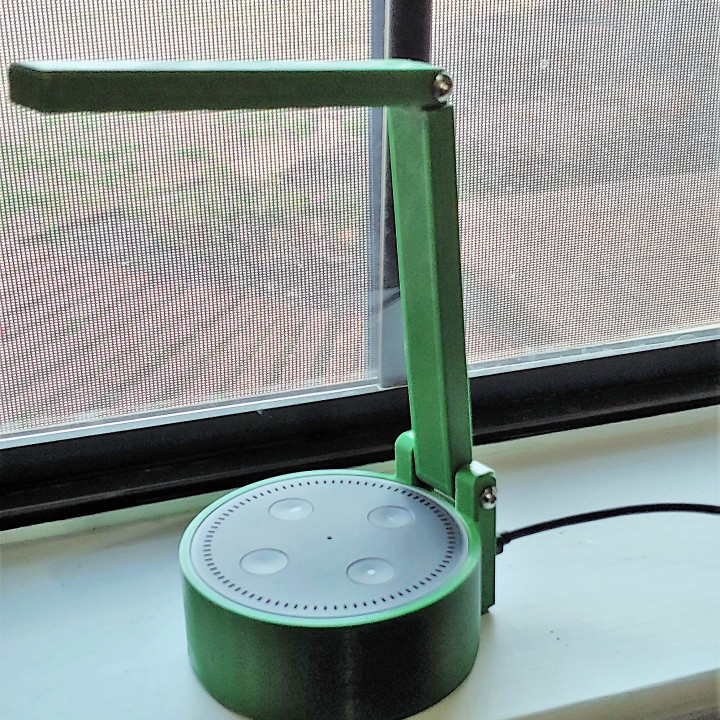
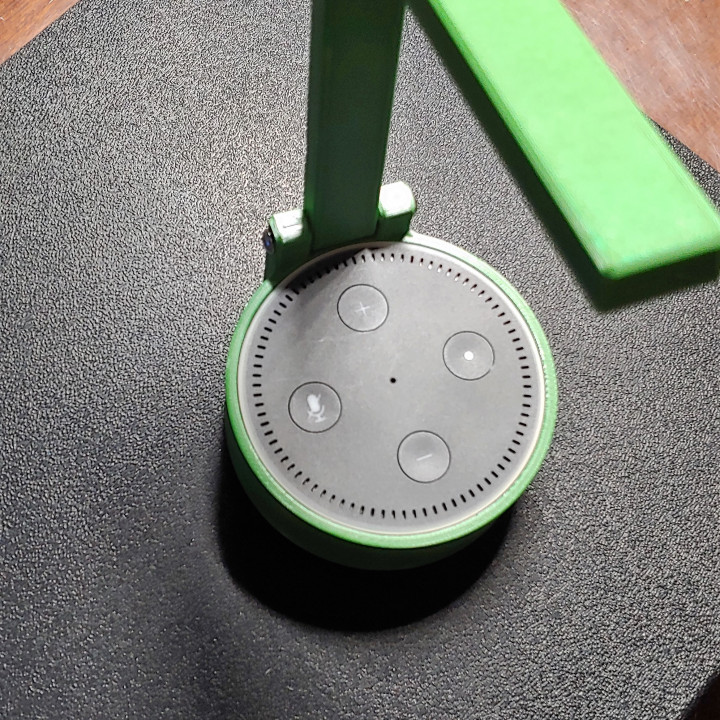
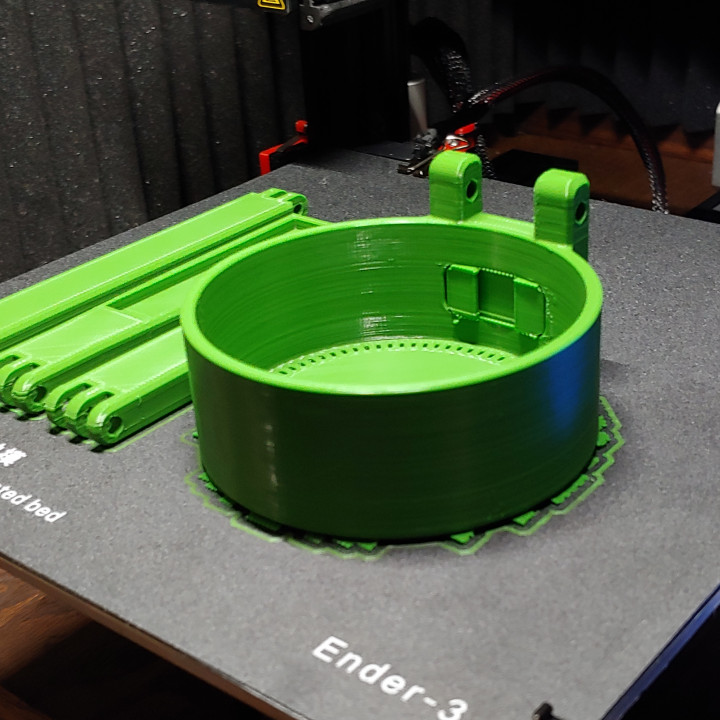
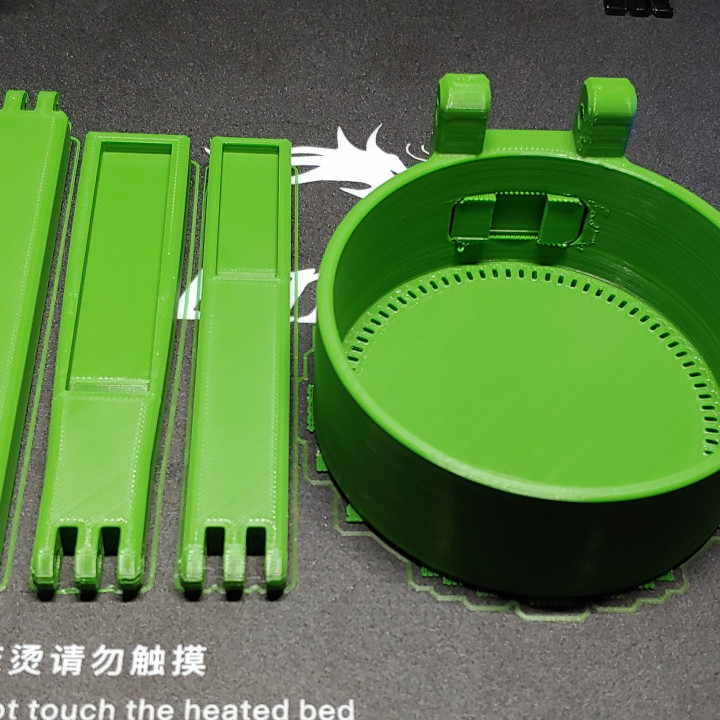
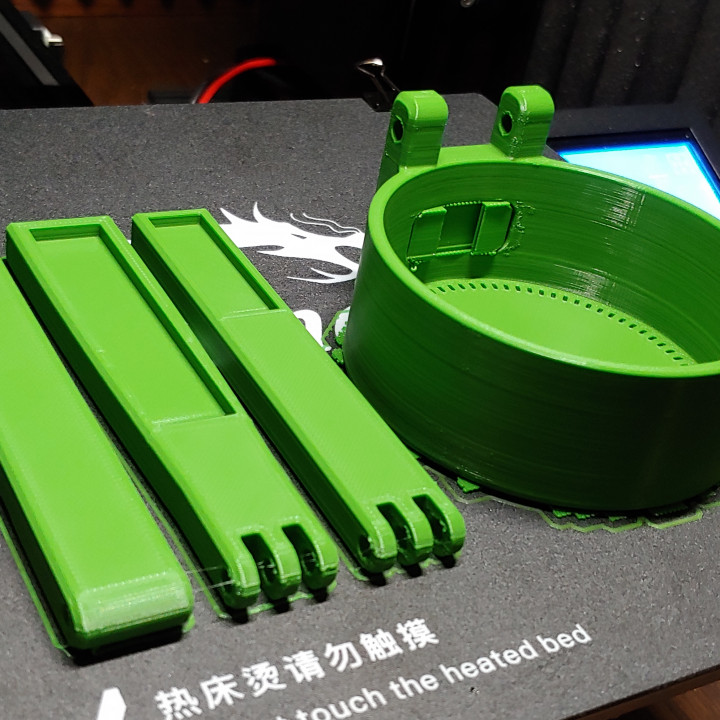
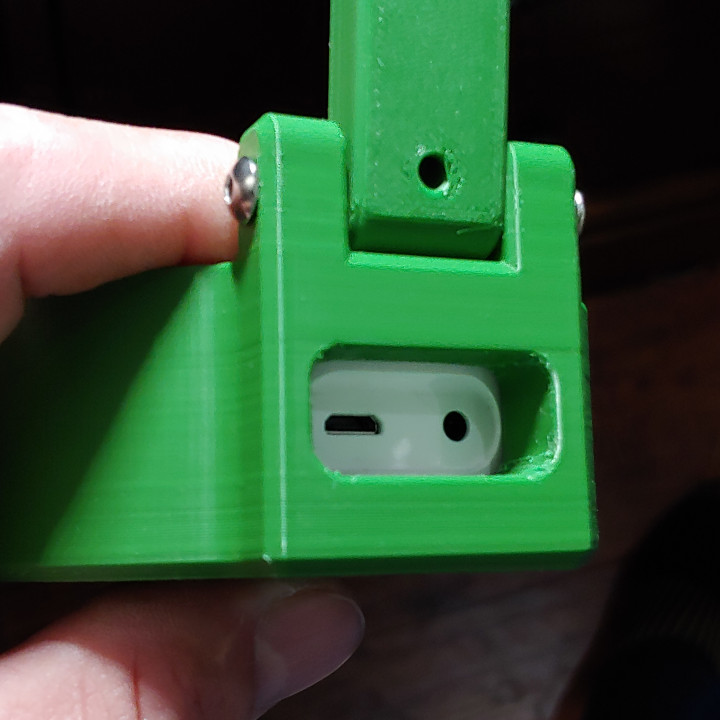
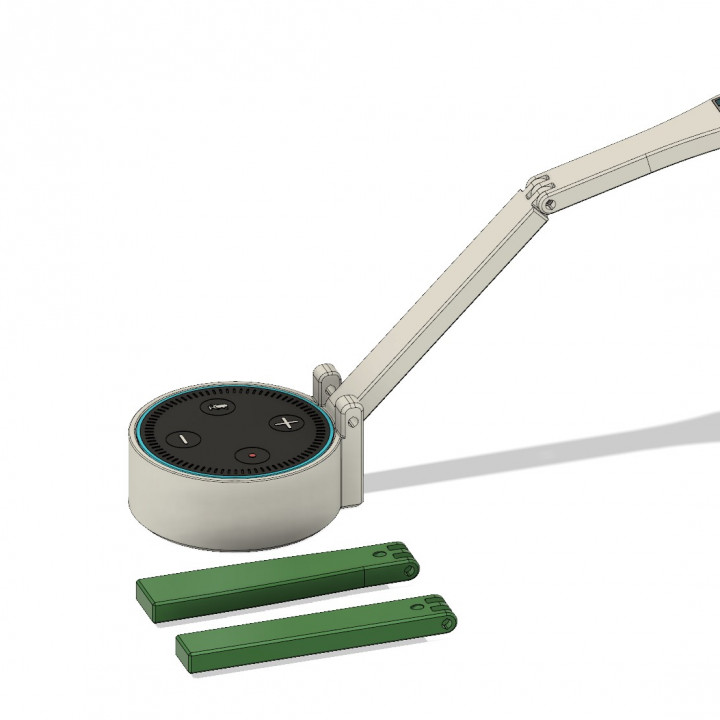
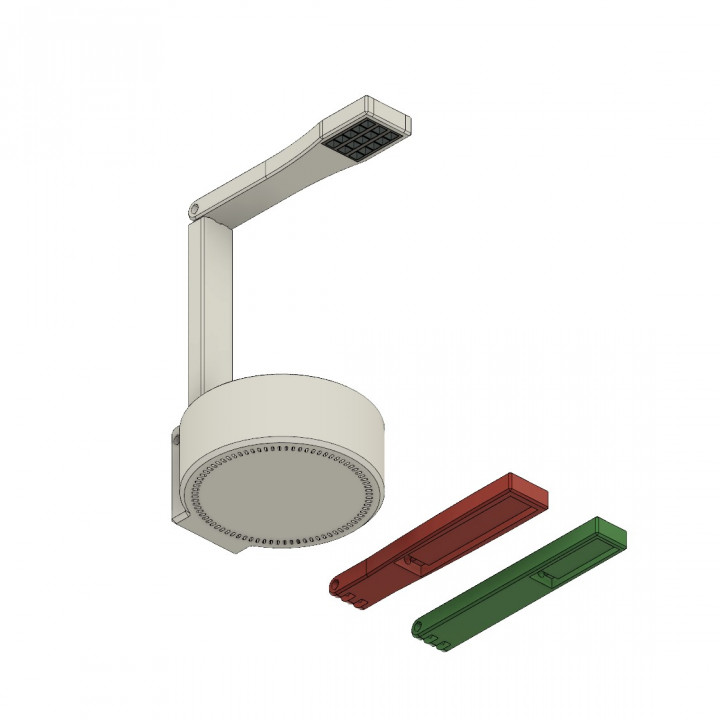
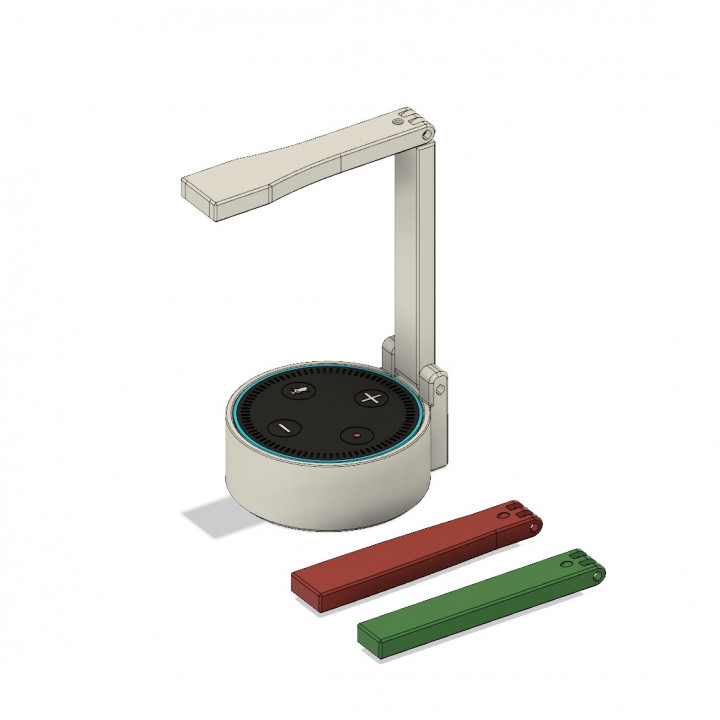
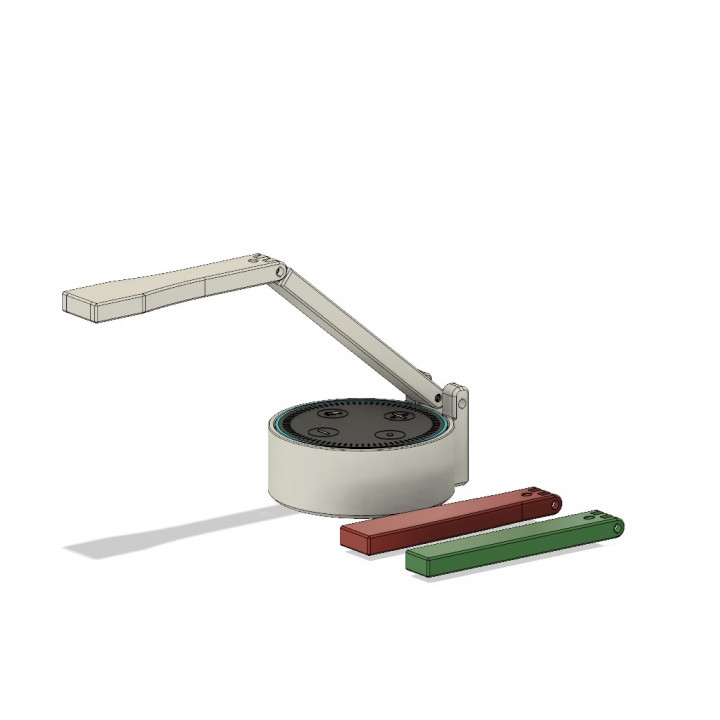
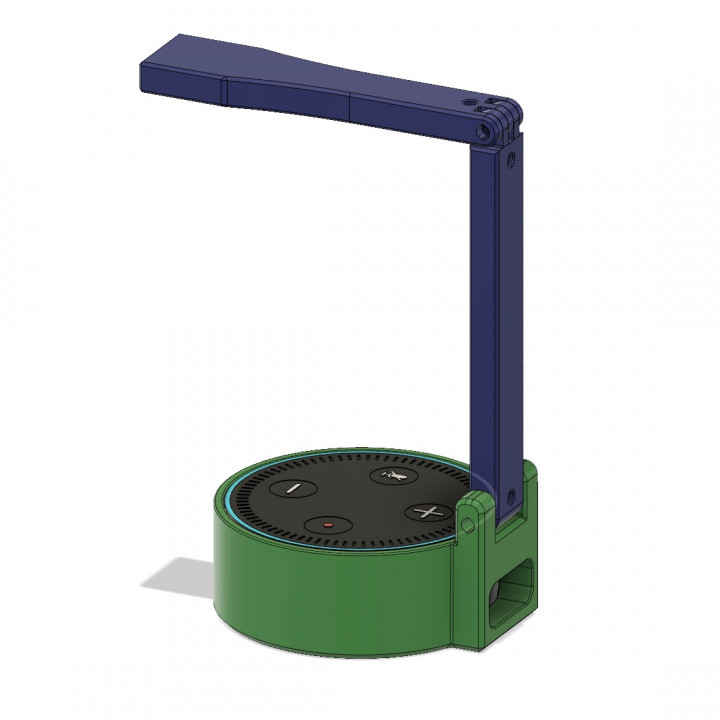
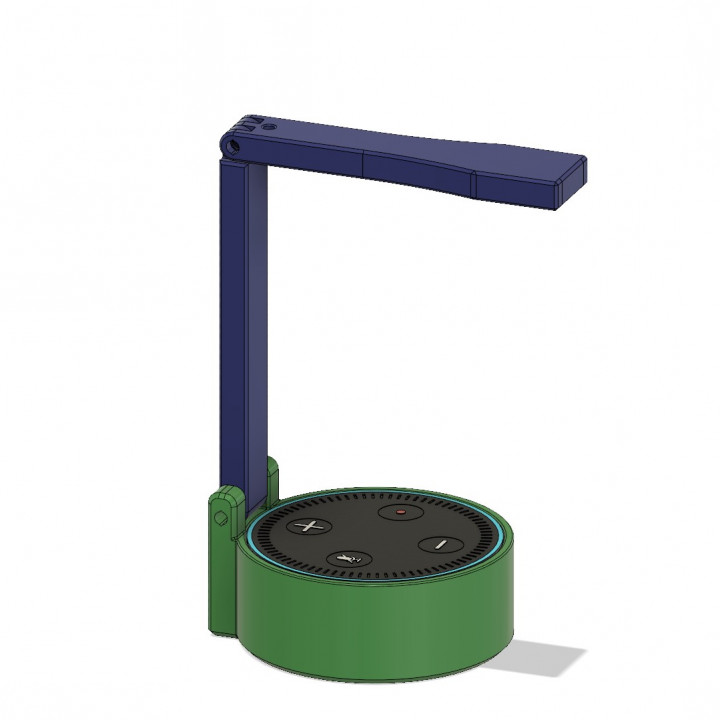
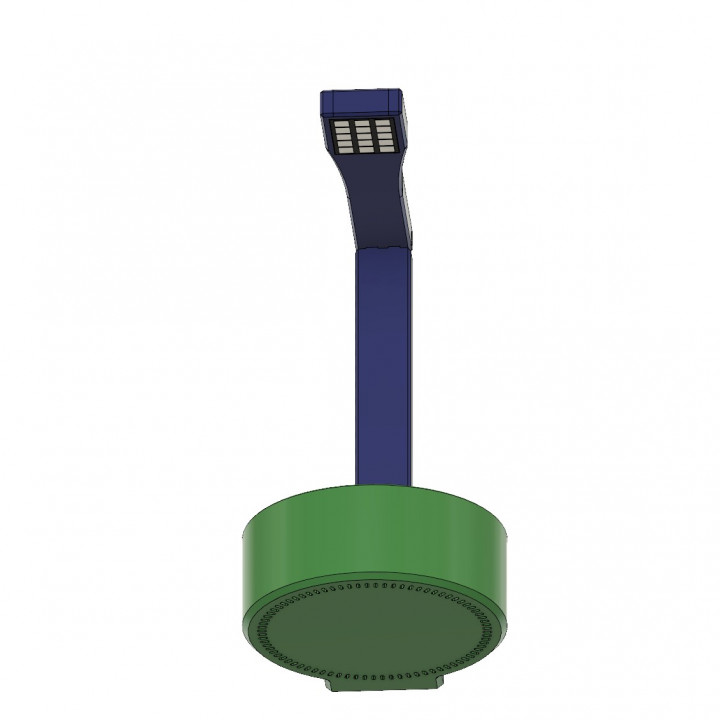
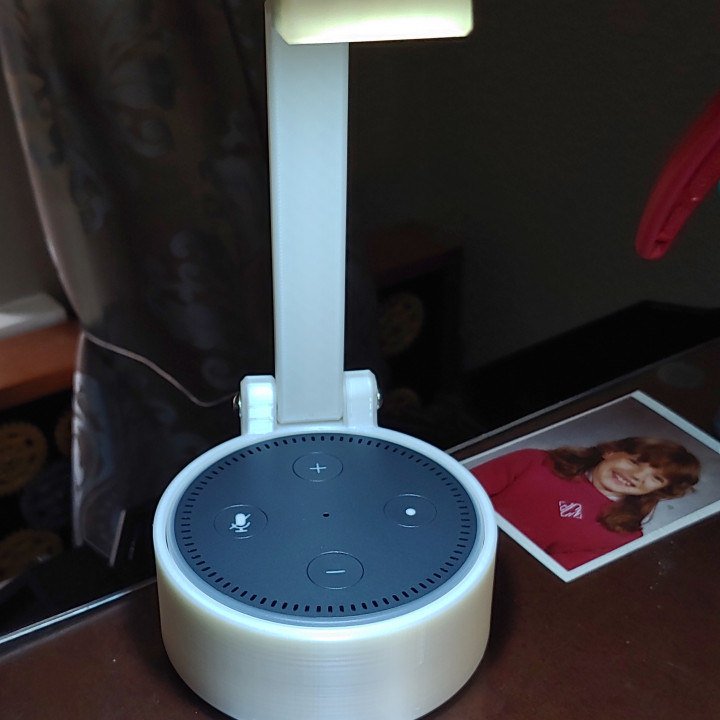
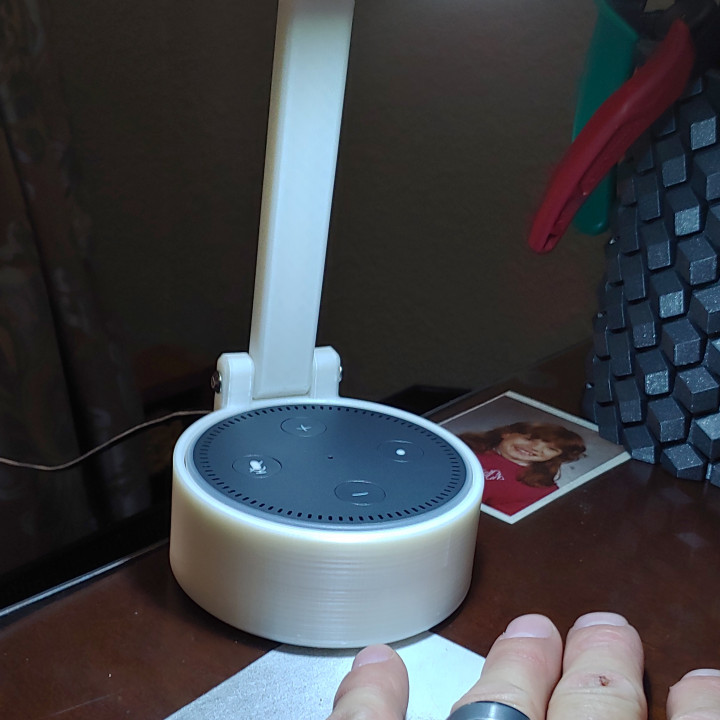
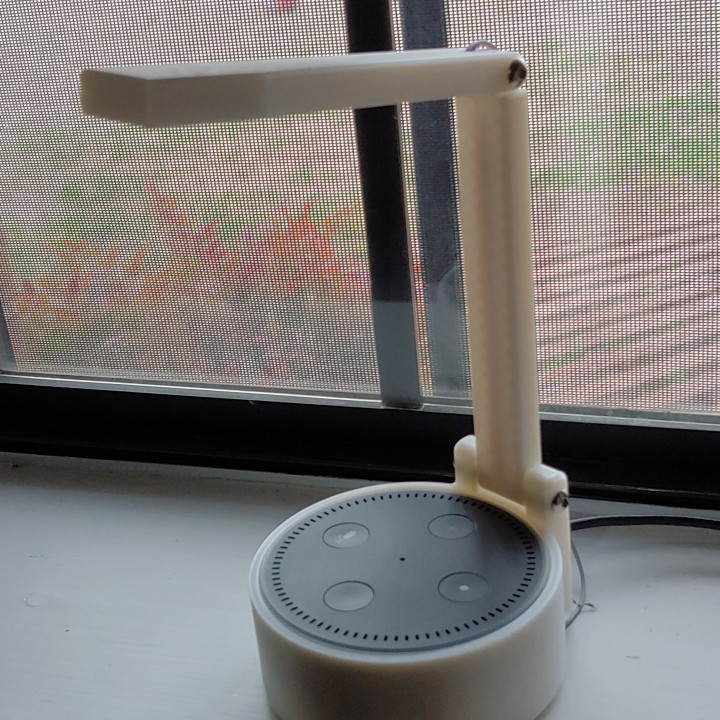
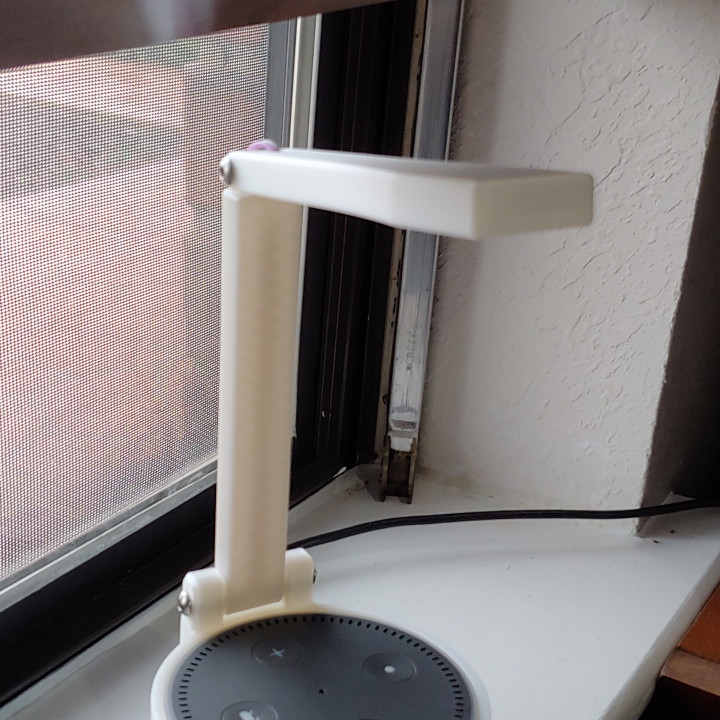
So, this is a LED desktop or night stand lamp for the Amazon Echo Dot v2. I designed this in Fusion 360 with inspiration from the ongoing contest here on MyMiniFactory sponsored by Sindoh. I designed this in Fusion 360 with 3d printing in mind. It does require only very minimal support for the micro USB plug in on the back of the device. The tolerance should work well for most any minimally calibrated printer. The echo dot drops into the base and plugs in as normal. The LED light source could be just about anything you want but I opted for a 12-SMD (available in white and blue) dome light as widely used in many vehicles. This is a 12-volt light so it can be wired into any 12v adapter with an inline switch if desired. I will also post a 6v (USB driven) light so those with soldering skills or more advanced users could modify the single USB cable to power both the Amazon Echo Dot and the single LED. (optional light sources and upper arms included)
I made this since I use the Echo Dot here at my desk for music and/or useless information :). From time to time I need a bit of additional light to help illuminate my workspace or it could be used as soft mood light as well.
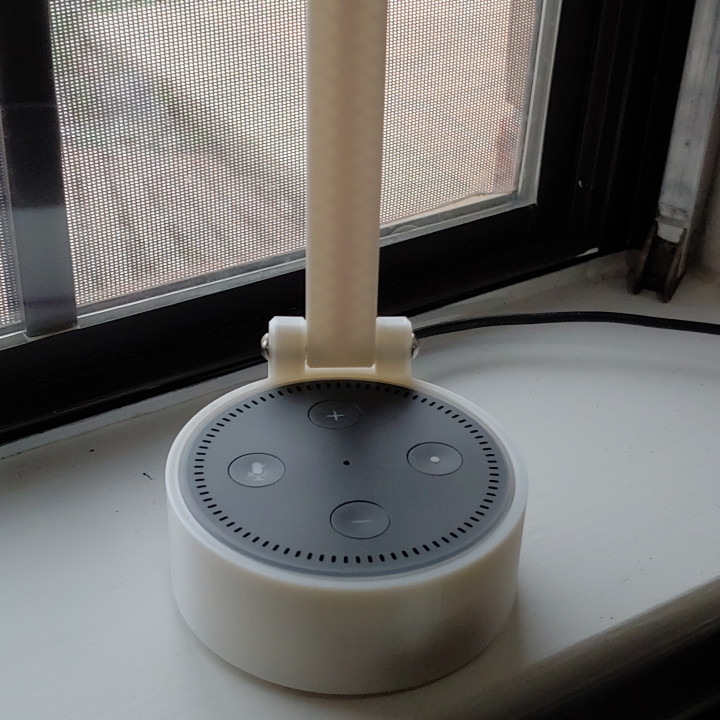
More pictures to follow as well as assembly and final product. Easy print with minimal support. I recommend .15-layer height; 22% infill, 2 or 3 walls and 4-5 top layers. Please let me know if you have any questions.
Materials Required:
PLA (or other material you perfer 85 grams)
#1 LED (to fit in a @29mm x 22mm space) - revisied arms for other LED options below.
#2- M3 x 8 for the upper and lower arm joint
#2- M3 x 16mm for the body and lower arm joint
Wire for LED 200mm roughly in lenght need for the light housing (I used 28 - 30 guage silicone wire from Amazon)
Affiliate Links for Amazon Items:
LED 12v used- https://amzn.to/2GpCSaS
12v Adapter- https://amzn.to/2SjIZ7j
Metric Screws- https://amzn.to/2WMjZVE
Wire- https://amzn.to/2t1PzAX
PLA (white)- https://amzn.to/2TpjNJI
PLA (blue)- https://amzn.to/2t2urul
Optional Light Sources for Corresponding Arms:
1. STL = Arrow CXA1304 Upper Arm M3 (up to 3 lights)
2. STL=Amazon LED Strips Upper Arm M3 https://amzn.to/2MLDNDP
Assembly Instructions:
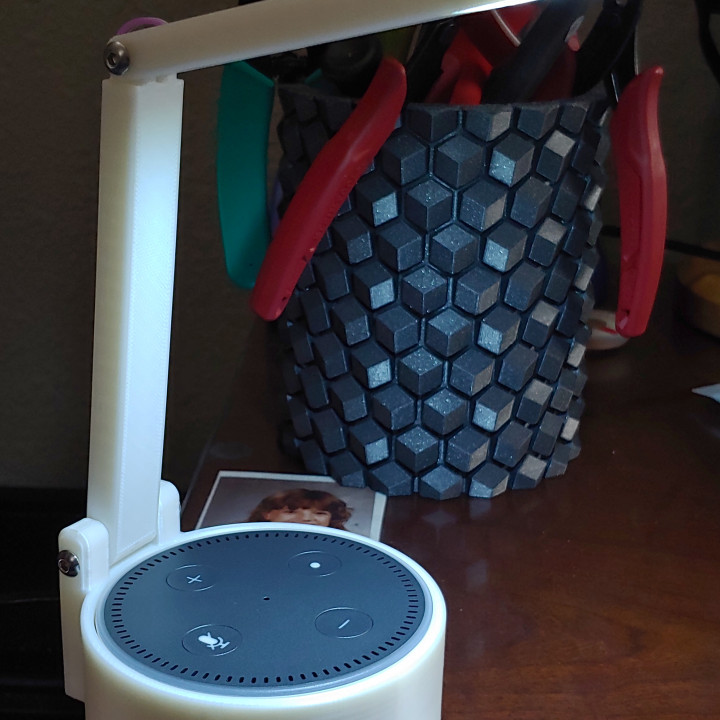
Really straight forward process. I find it best to test fit all of the parts and pieces needed before assembly. I started by soldering the wires onto the LED. I used approximately 18” of 28 gauge silicone insulated wire in contrasting colors, this leaves you enough to connect it to a wall adapter or create your own USB cable depending on how you wish to connect the light source and what light source is used. Once the LED wires are connected to the LED assembly feed the wires through the wire chase starting from the LED cavity through the arm and out the top side. Next you can then feed the wires from the upper arm through the lower arm by the same process staring at the forked end. Once the wires are complete you can mount the LED (can be press fit when using the 12v one linked be careful not to pinch your wires but there should be ample clearance under the light). Once the wire is complete and you are happy with the fit and mounting of the LED you can assemble or join the upper arm and lower arm by using the 2- M3 x 8mm bolts, one from each side. Once the two arms are joined you can now install the Echo Dot into the body housing. It’s an easier fit to do that before connecting the arm assembly to the body housing. Once you have Echo Dot installed in the housing go ahead and mount the arm assembly to the body using 2- M3 x 16mm bolts, again one from each side. Mine threaded easily but if you have any issues, I recommend starting the screw in the threads prior to joining the arms. Once the final arm assembly is complete you can make the proper electrical connections to the LED and you should be ready to go. Hope you enjoy- if you have any questions please let me know.


I recommend .15-layer height; 22% infill, 2 or 3 walls and 4-5 top layers. PLA is fine I usually print at 210 first layer and 205 after with 60 on the bed. Support is recommended for the USB access area but if your printer bridges well you might can get away with it. I might add built in support in that area for a support free slicing experience.
Please let me know if you have any questions.
| Date published | 03/02/2019 |
| Time to do | 420 - 500 minutes |
| Material Quantity | 85-95 |
| Dimensions | 160 x 160 x 50 |