Short Circuit Johnny 5 Alexa holder 3/4 scale

Remixed by
Copyright Claim

Short Circuit Johnny 5 Alexa holder 3/4 scale

Remixed by
Boost
250
369
44

Print Profile(1)

All
X1 Carbon
P1S
P1P
X1
X1E
A1

0.2mm layer, 3 walls, 15% infill
Designer
647.5 h
35 plates
4.4(5)

Boost
250
369
44
17
450
294
Released

Description

This is a reworked version of this great model https://www.thingiverse.com/thing:5541988 if you make this please go heart his model too.


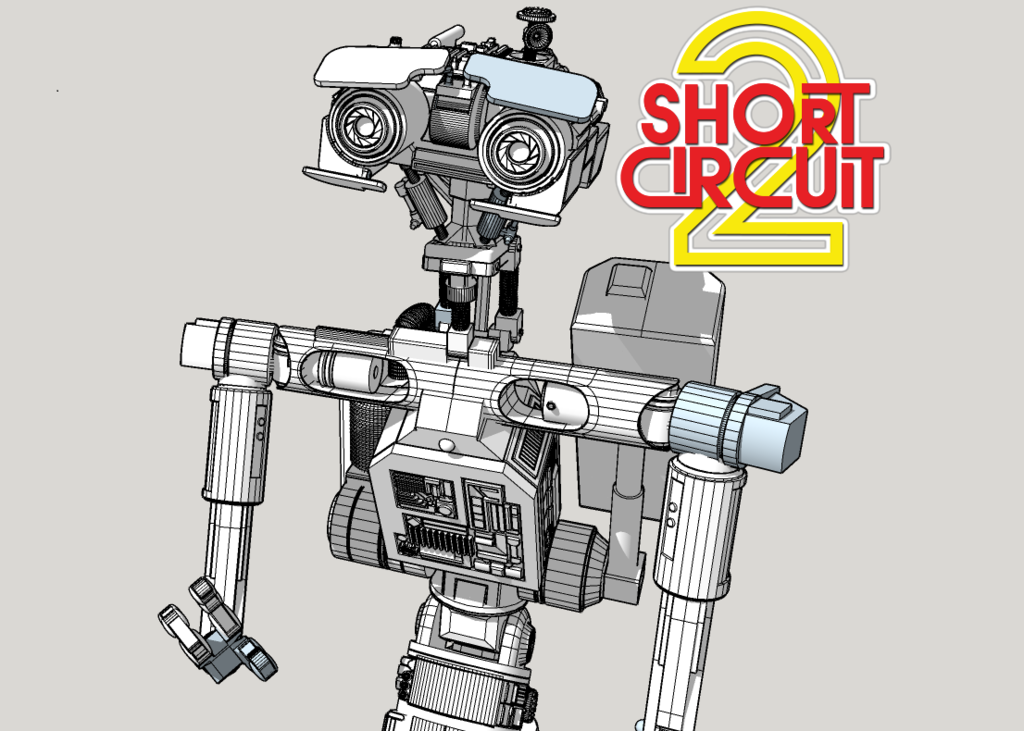
Johnny stands about 40 inches tall and has a Amazon Alexa echo in his chest with a led sound module feeding leds in his mouth whenever its playing sounds. https://www.amazon.com/gp/product/B09FJL2VL2/ref=ppx_yo_dt_b_asin_title_o08_s00?ie=UTF8&psc=1


I used an old usb cable for the smaller hydraulic lines. I printed mine in Sunlu silk pla+ all outer walls at 40/mms. I attached all parts with ca glue and activator and for the shoulder and elbow pegs I use tape to make the joint tight so it can still move but lock in place.


Due to file size I uploaded as draft quality, i printed all mine at .2 layer height with 15% infill and 3-4 walls


Also more than one part can fit per plate it was having issues uploading full plates.


Supports are a per plate situation and all are not the same, you will need to pick the best option for each print, I already have the parts in the best orientation to print. The 4th slot is swapped out for the red toolbox

Comment & Rating (44)

Please fill in your opinion
(0/5000)

Boosted
I am just about finished thank you it's perfect
The designer has replied
2
Reply
This is awesome!!
0
Reply
did plate 15 really take 2 days to print or I'm doing somthing wrong lol
0
Reply
Boosted
yes just about every plate takes about a day plus
1
Reply
Boosted
Print Profile
0.2mm layer, 3 walls, 15% infill
printed great thank you for the files
(Edited)
The designer has replied
3
Reply
Your print looks great! Where did you get the standard chest piece? I did not see it on any of the plates and I do not want to use the Alexa. Thanks!
0
Reply
Replying to @mikecoscia :
grab it from the original model link and upscale it to 250% and paint as wanted
(Edited)
2
Reply
Print Profile
0.2mm layer, 3 walls, 15% infill
Most plates print well. The support settings are excessive for some, resulting in breaking parts during removal. The image attached shows the neck part prints better with tree supports. This part broke twice using the print profile settings.
1
Reply
I printed mine twice with tree supports and I was very careful, but it broke again so I glued it. What did you do? Also had trouble with the track support pieces (the large ones). Had to glue several.
0
Reply
I set the neck piece to tree supports with a threshold angle of 30. I carefully used pliers to remove them. I didn’t change the print profile settings for the tracks, but I also had a few tips break off. Thankfully they were all on the bottom side, so I glued them back on using PLA gloop.
0
Reply
Thanks!! I’m 99% done. I need to work on the LEDs and decide if I want the track bases glued or left removable.
The designer has replied
1
Reply
I left my base all push together so I could move it easier.
0
Reply
Has anyone made this yet? I'm curious because the top surfaces of my prints all have lines and looks bad. Trying to figure out if this is by design? Any help, thanks.
The designer has replied
0
Reply
the left side is hidden under the tool bracket, circles are hard to hide layer lines, you can use adaptive layers to help hide it or tilt it 45° up to hide them like the shoulders. That part is pretty well hidden it wasn't worth the hassle to tilt it the same way.
0
Reply
Replying to @homer4evr :
Okay, thanks. I need to learn how use the adaptive layers in future.
0
Reply
this is amazing, currently still on my first plate...qq though, the sunlu silk. for the yellow part is that light gold?
The designer has replied
1
Reply
yes the light gold sunlu silk
0
Reply
Replying to @homer4evr :
thx, any advice on how to setup that sound module? Or a youtube video?
0
Reply
Replying to @rickceballos :
i followed the instructions on Amazon for the sound module, at first I used the power supply for the Alexa but have since changed since I'm eventually adding more LEDs. I just cut the wire near the barrel plug and jumped a +&- to the sound module. I only used 3 12v LEDs in the mouth cavity, the led print defuses them enough I didn't think I needed to add more.
1
Reply
can you share a picture of the backside? Some parts printed I have no idea where they go.
0
Reply
I found a lot online. There is one link that has several great shots. Did you have lines on the top surfaces of your prints? Driving me crazy if it isn't by design. Thanks
0
Reply
if you mean on the flat surfaces? no. I had a hell of a time with figuring out supports. the hand was the worst to get a good quality print. I’m thinking of reprinting it with extra fine quality. please share the links
0
Reply
Replying to @rjsmith1157 :
Yes, me too. The builder said to use adaptive layering. I don't know how to use that yet myself.
0
Reply
I am attempting to print and build this, so thanks for the files. What did you use for the mouth leds? I saw the sound module, but the leds I have are too large to fit in the mouth slot.
The designer has replied
0
Reply
there is a file for fake mouth LEDs I printed it clear, you can put any 12v led in the cavity behind the fake clear LEDs and it will look like they're all tiny bulbs. I probably should edit this into the description, sorry
0
Reply
Replying to @homer4evr :
oh, got ya! Thanks for the clarification. I don't have clear filament but I do have some translucent red that I will try.
0
Reply
Boosted
Looks awesome... I'm going to try and print this... It's a great childhood dream to have a robot... Did you use sunlu silk gold, sunlu silk blue, sunlu silk silver...
The designer has replied
1
Reply
yes I did and I came out amazing, thanks
0
Reply
Hello.Is possible to make it real life size???Thea real size of Johnny 5 is 72 inches.Is possible ????
The designer has replied
0
Reply
you would just have to scale it up in the slicer, although you'd probably have to cut up more of the parts but it's easy enough. right now it's scaled up 250% from the original model.
0
Reply