MyDigitalSlot All Straights Pack, 3D printed DIY track parts for your 1/32 Slot Car Racing Game


MyDigitalSlot All Straights Pack, 3D printed DIY track parts for your 1/32 Slot Car Racing Game
Published 2021-09-07T18:32:05+00:00
Take a sneak peek to the MDS System in its first stages in the video above
If you are interested in the MDS Race System take a look to the next video
Old Price: 16.00
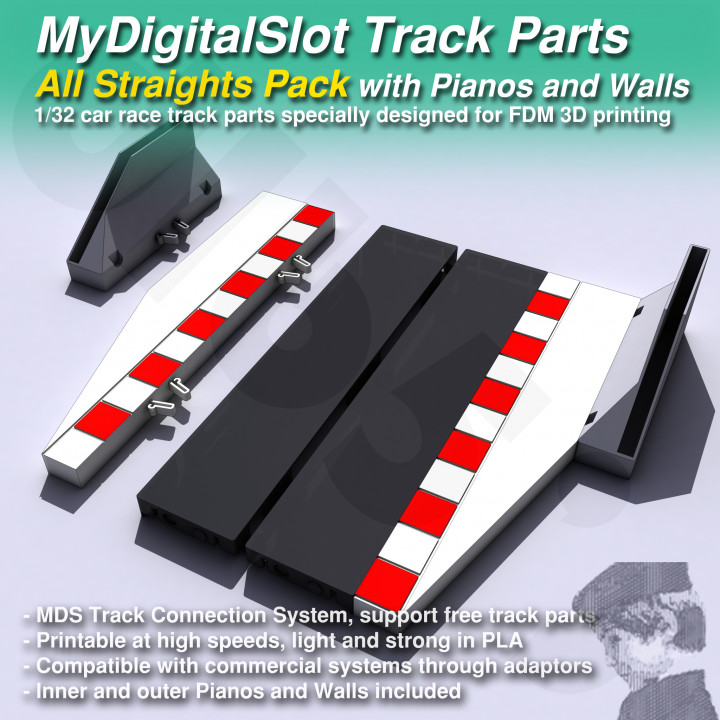
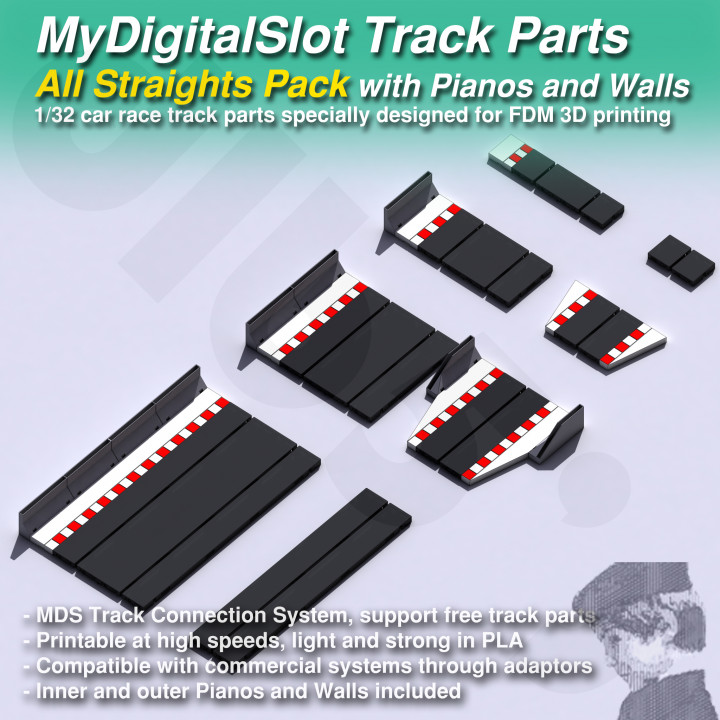
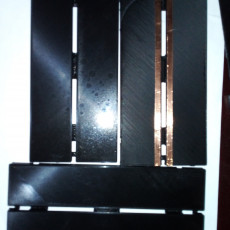
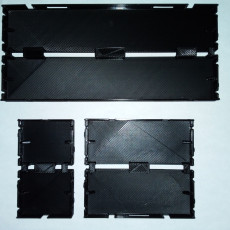
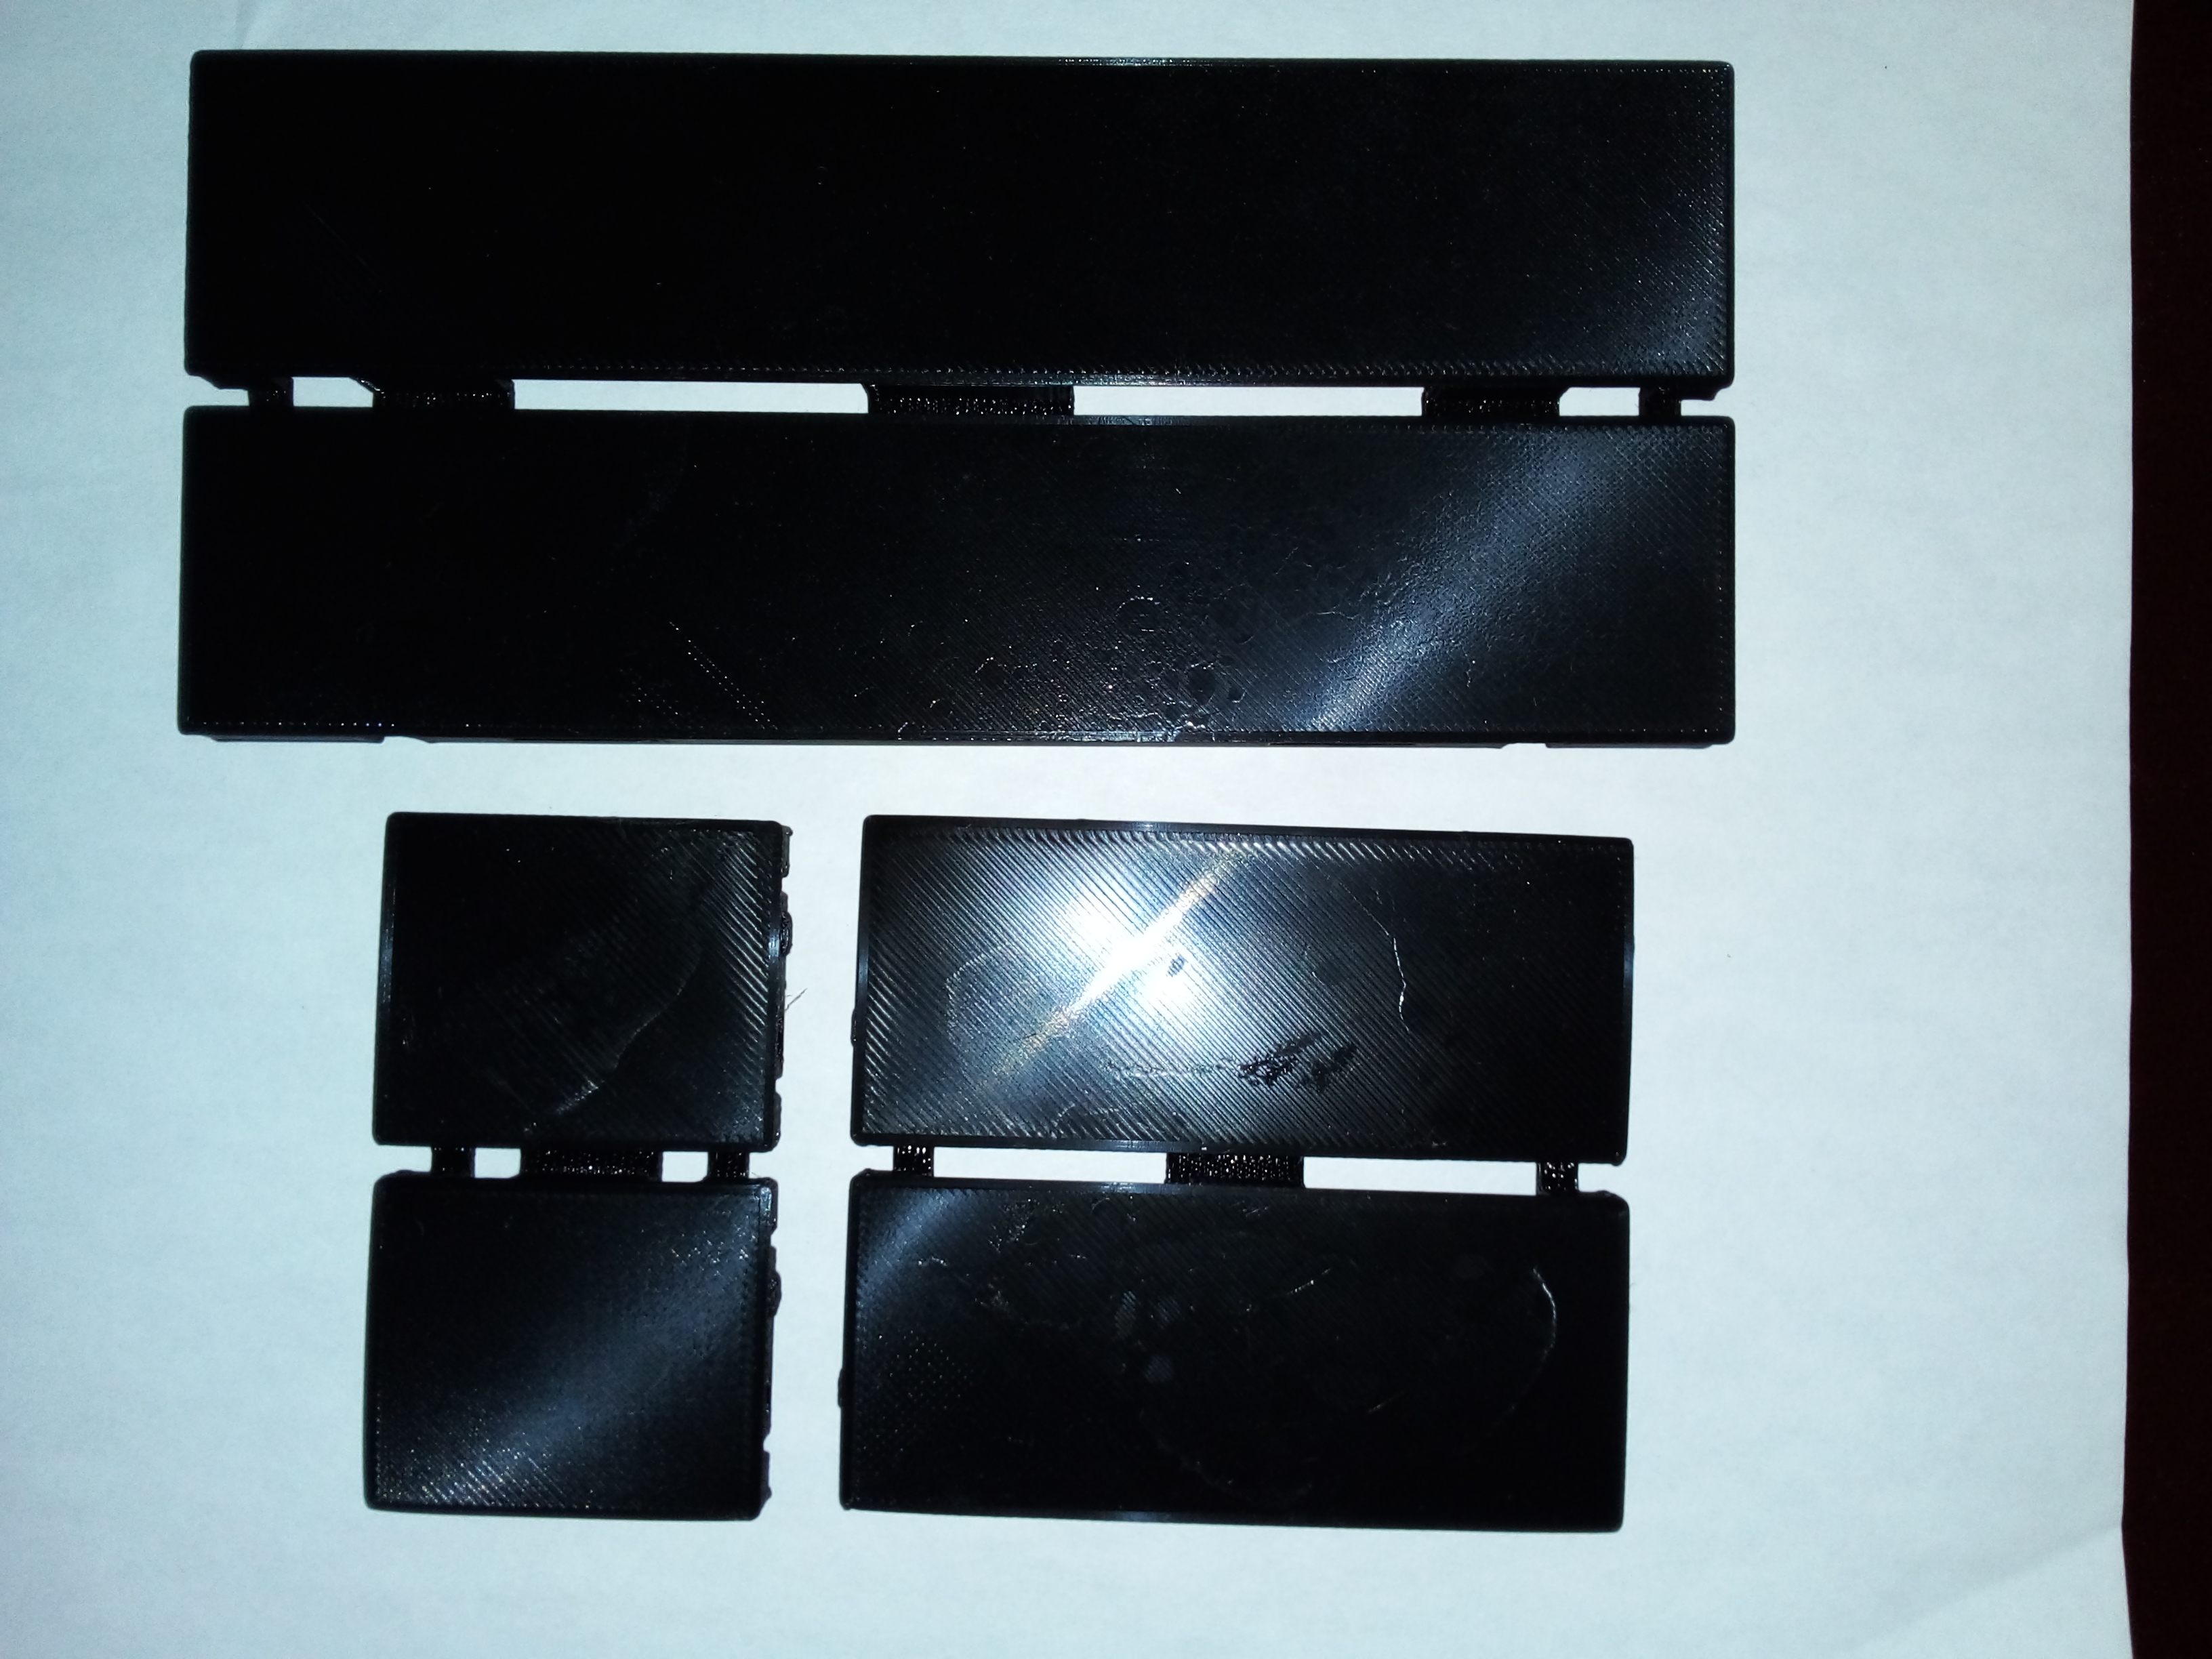
Here you will find all MyDigitalSlot straight track parts, including single-lane (SL) and dual-lane (DL) parts, but not only; You will also find here the side accessories for those track parts, Pianos and P-Walls ;)
These track parts can work in both analog / digital systems, and can be compatilble with other existing commercial track parts using the right adaptors.
If you want it all, the All Curves Pack and Lane-Changers is what you need. If you plan to buy these 3 publications, ask me for a discount and I will create it for you if you can't wait until I publish a "mega-combo pack" with these 3 publications.
Of course, you will need to add copper tape to each track part. Please look for a double-side conductive one, so you can use it also to "bridge" some connections
You will find the list of STLs included, the same than their weight and fast printing time at the end of this publication!
To complete the connection system you will also need (Included):
- MDS_TRACK_CLIP_Standard (To connect track parts)
- MDS_TRACK_CLIP_Pianos (To interconnect pianos)
- MDS_TRACK_CLIP_Lanes (To fix straight lanes in parallel)
- MDS_TRACK_CLIP_IR-holder (To hold IR lights and sensors)
They are compatible with the next adaptors (NOT INCLUDED):
- MDS_TRACK_ADAP_SCA_CLASSIC_SL_STR45_FEMALE
- MDS_TRACK_ADAP_SCA_CLASSIC_SL_STR45_MALE
- MDS_TRACK_ADAP_SCA_CLASSIC_DL_STR45
- MDS_TRACK_ADAP_SCA_SPORT_SL_STR45_ROUND
- MDS_TRACK_ADAP_SCA_SPORT_SL_STR45_SQUARE
- MDS_TRACK_ADAP_SCA_SPORT_DL_STR45
- MDS_TRACK_ADAP_SCX_GREY_SL_STR45
- MDS_TRACK_ADAP_SCX_GREY_DL_STR45
You will find attached a table with all the common track parts weights, needed bed sizes and printing times. Introducing the quantity of each track part you should be able to get the total weight and time to print.
MyDigitalSlot System, more than a track
This is part of a more complete work, a whole car racing Digital Slot System, including the track parts, controllers, car chassis, electronics and bodies. The same way various digital accessories like "Info Screens" with cars and race information, synchronized start lights system, RGB lighting, and probably an app and HDMI output will be available.
The main idea is to be able to print, build and use a full RC Car Slot Digital Racing System which is independent from market typical trades. Anyway you can use the different parts of the system in many ways.
The main features of MyDigitalSlot System are:
- Lap count
- Fuel and Health systems
- Racing system without base controller, just with cars and their controllers
- Race configuration and invitation system just with your controller!
- Stop and Go system for race starts and accidents
- Speed Cap system for low health or fuel
- Wireless and rechargable controllers
- Enter / Exit Pit Lane detection, you need to stop there to restore full fuel / health levels
- Cars can run in both directions in the same lane
- Cars with full configurable lights, including dimming rear/brake lights, Left and Right Blinkers and Front Lights
- Cars can control various servos, a XYZ gyro, IR lights and sensors and the motor driver
More features are coming, but I will need a great bunch of feedback, I hope yours too, to take the whole system to a more profesional, next level.
System Versatility
You can use the track parts to build and drive your analog or digital cars, you can mix the parts with older or newer Scalextric parts using transition/adaptor parts. You can also use the MyDigitalSlot cars and controllers in those commercial tracks, but the "digital" system accessories of those commercial tracks probably won't work.
The electronics involved in the controllers, cars and digital track parts are quite simple and easy to source, like cheap arduinos, resistors, diodes, leds, RGB digital leds, pots and a few more things.
I have made the car and "lane-changers" work in two different modes, one would be compatible with "mechanical" lane-changers like in Scalextric Digital System, WOS or Advance.
The other mode would be the "InfraRed" mode, in which the "lane-changers" will move when they receive IR light from a car. In this case, you won't need the "line-changer actuator" in the car but you will need electronics under each lane-changer track part, specially the "sensors" and the "actuator".
There is a very good thing about the InfraRed lane-changers... You can use both mechanical and IR systems simultaneously, I mean, one car can change lane mechanically and the next one could use the IR led to change lane.
You CAN'T use "mechanical lane-changer cars" with old Scalextric track parts (black) but you can use "IR lane-changer cars" and complete your track with all those old track parts you had around there from many years ago.
Printing a big track could take many many plastic (various KG) and hundreds of hours of 3D printing, so this InfraRed lane-changer system in combination with your old black track parts could be the most economically interesting solution from my point of view.
If you give it a try to MyDigitalSlot you will be welcomed to my Discord Server to ask, show or suggest any change to this DIY 3D Printable Digital Slot System, but you can also use the comments of this publication if it makes sense.
LIST OF INCLUDED PARTS
BLACK MAIN TRACK PARTS: Bed Size Weight Time
MDS_TRACK_STR_SL_360 362x80 50 120
MDS_TRACK_STR_SL_180 182x80 27 65
MDS_TRACK_STR_SL_90 92x80 14 35
MDS_TRACK_STR_SL_45 47x80 9 23
MDS_TRACK_STR_DL_360 362x160 97 225
MDS_TRACK_STR_DL_180 182x160 52 123
MDS_TRACK_STR_DL_90 92x160 28 66
MDS_TRACK_STR_DL_45 47x160 18 45
WHITE PIANO PARTS: Bed Size Weight Time
MDS_TRACK_PIANO_STR_45 45x43 4.1 10
MDS_TRACK_PIANO_STR_90 90x50 7.4 18
MDS_TRACK_PIANO_STR_90_Left 90x50 5.9 15
MDS_TRACK_PIANO_STR_90_Right 90x50 5.9 15
MDS_TRACK_PIANO_STR_180 180x50 14 34
MDS_TRACK_PIANO_STR_180_Left 180x50 12.5 30
MDS_TRACK_PIANO_STR_180_Right 180x50 12.5 30
MDS_TRACK_PIANO_STR_270 270x50 20.5 49
MDS_TRACK_PIANO_STR_360 360x50 27.1 65
GRAY WALL PARTS: Bed Size Weight Time
MDS_TRACK_P-WALL_STR_90 90x30 10.4 31
MDS_TRACK_P-WALL_STR_90_Left 90x30 8.7 25
MDS_TRACK_P-WALL_STR_90_Right 90x30 8.7 25
MDS_TRACK_P-WALL_STR_180 180x30 20.1 57


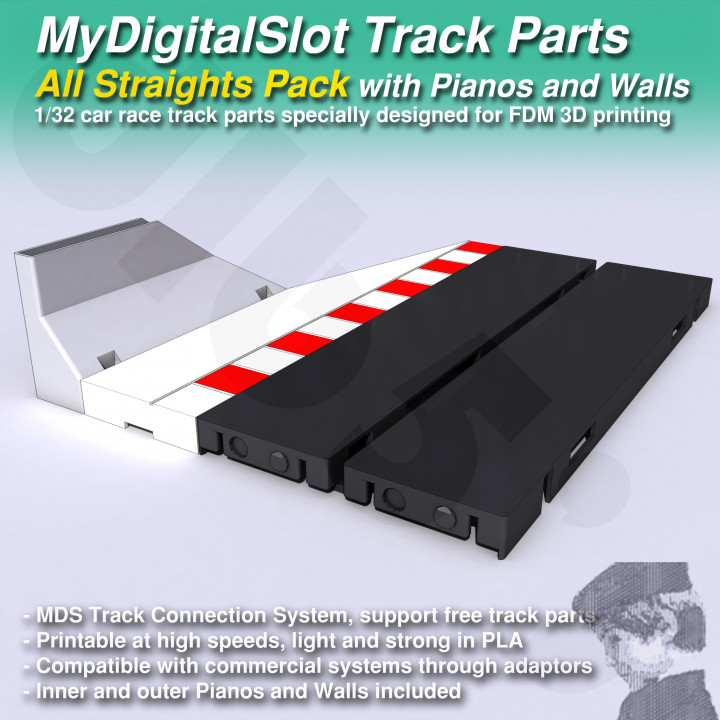
All these track, piano and wall parts have been designed to be printed fast, as they are quite big. Some rounded corners should help preventing bumps at high speeds in some cases, the walls are always 1mm thick to avoid extra retractions to make infills.
I would consider mandatory printing them with 0.48-0.5mm perimeter thickness, and in Z heights, the design is made for 0.2mm layer heights, so maybe 0.15 won't be a good layer height but 0.10 would be fine, although it would take toooo long to print.
If your printer is well calibrated and quite steady and rigid, you will probably want to go high speed, talking about 100 to 120 mm/s for "general speed"... I use 50% speed for perimeters and 80% speed for solid infill.
The parts have almost no "useless mass zones" so it will make no difference between printing them solid or with 20% infill... so print them solid, if possible choose 1000 Top/Bottom layers and you have it ;)
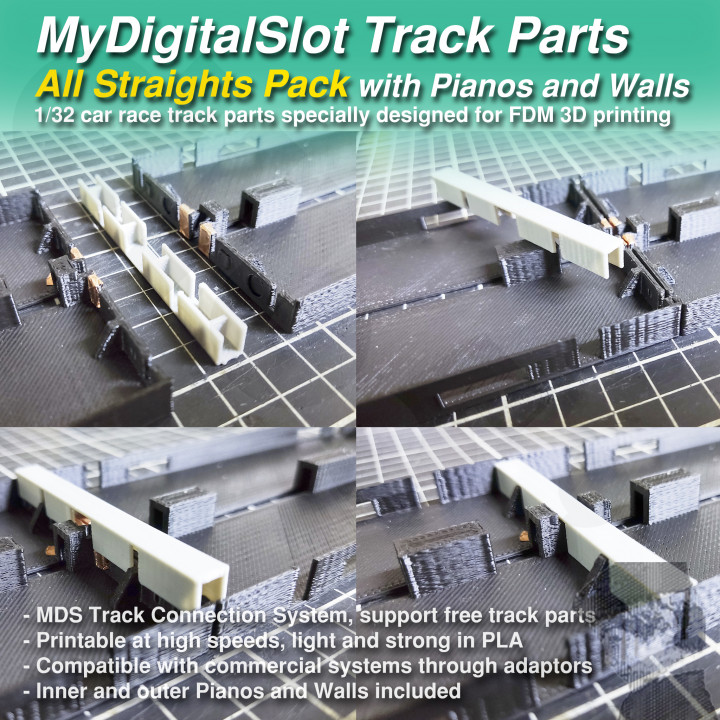
You won't need supports for the main track parts, but you will need to add them for those Piano and P-Walls connection parts. Remove them carefully and "hand shape" the connectors a little if needed to have a good fit into track or piano parts.
The track parts get together with a clip. Depending on the quality of your 3d printed track parts you will need a clip with more or less "clearance"... If you have quite big bumps in the corners, then you will need a wider Clip, while if you printed your track parts slowly you will need a narrower clip to have a good secure connection.
The clips can require different perimeter thickness than rest of the parts. Always review the preview in your slicer to see if you chose the right perimeter thickness. The walls must be always completely filled to have a strong part.
| Date published | 07/09/2021 |
| Time to do | 10 - 240 minutes |
| Material Quantity | 4-60g |
| Dimensions | max 200x200 for most of parts |

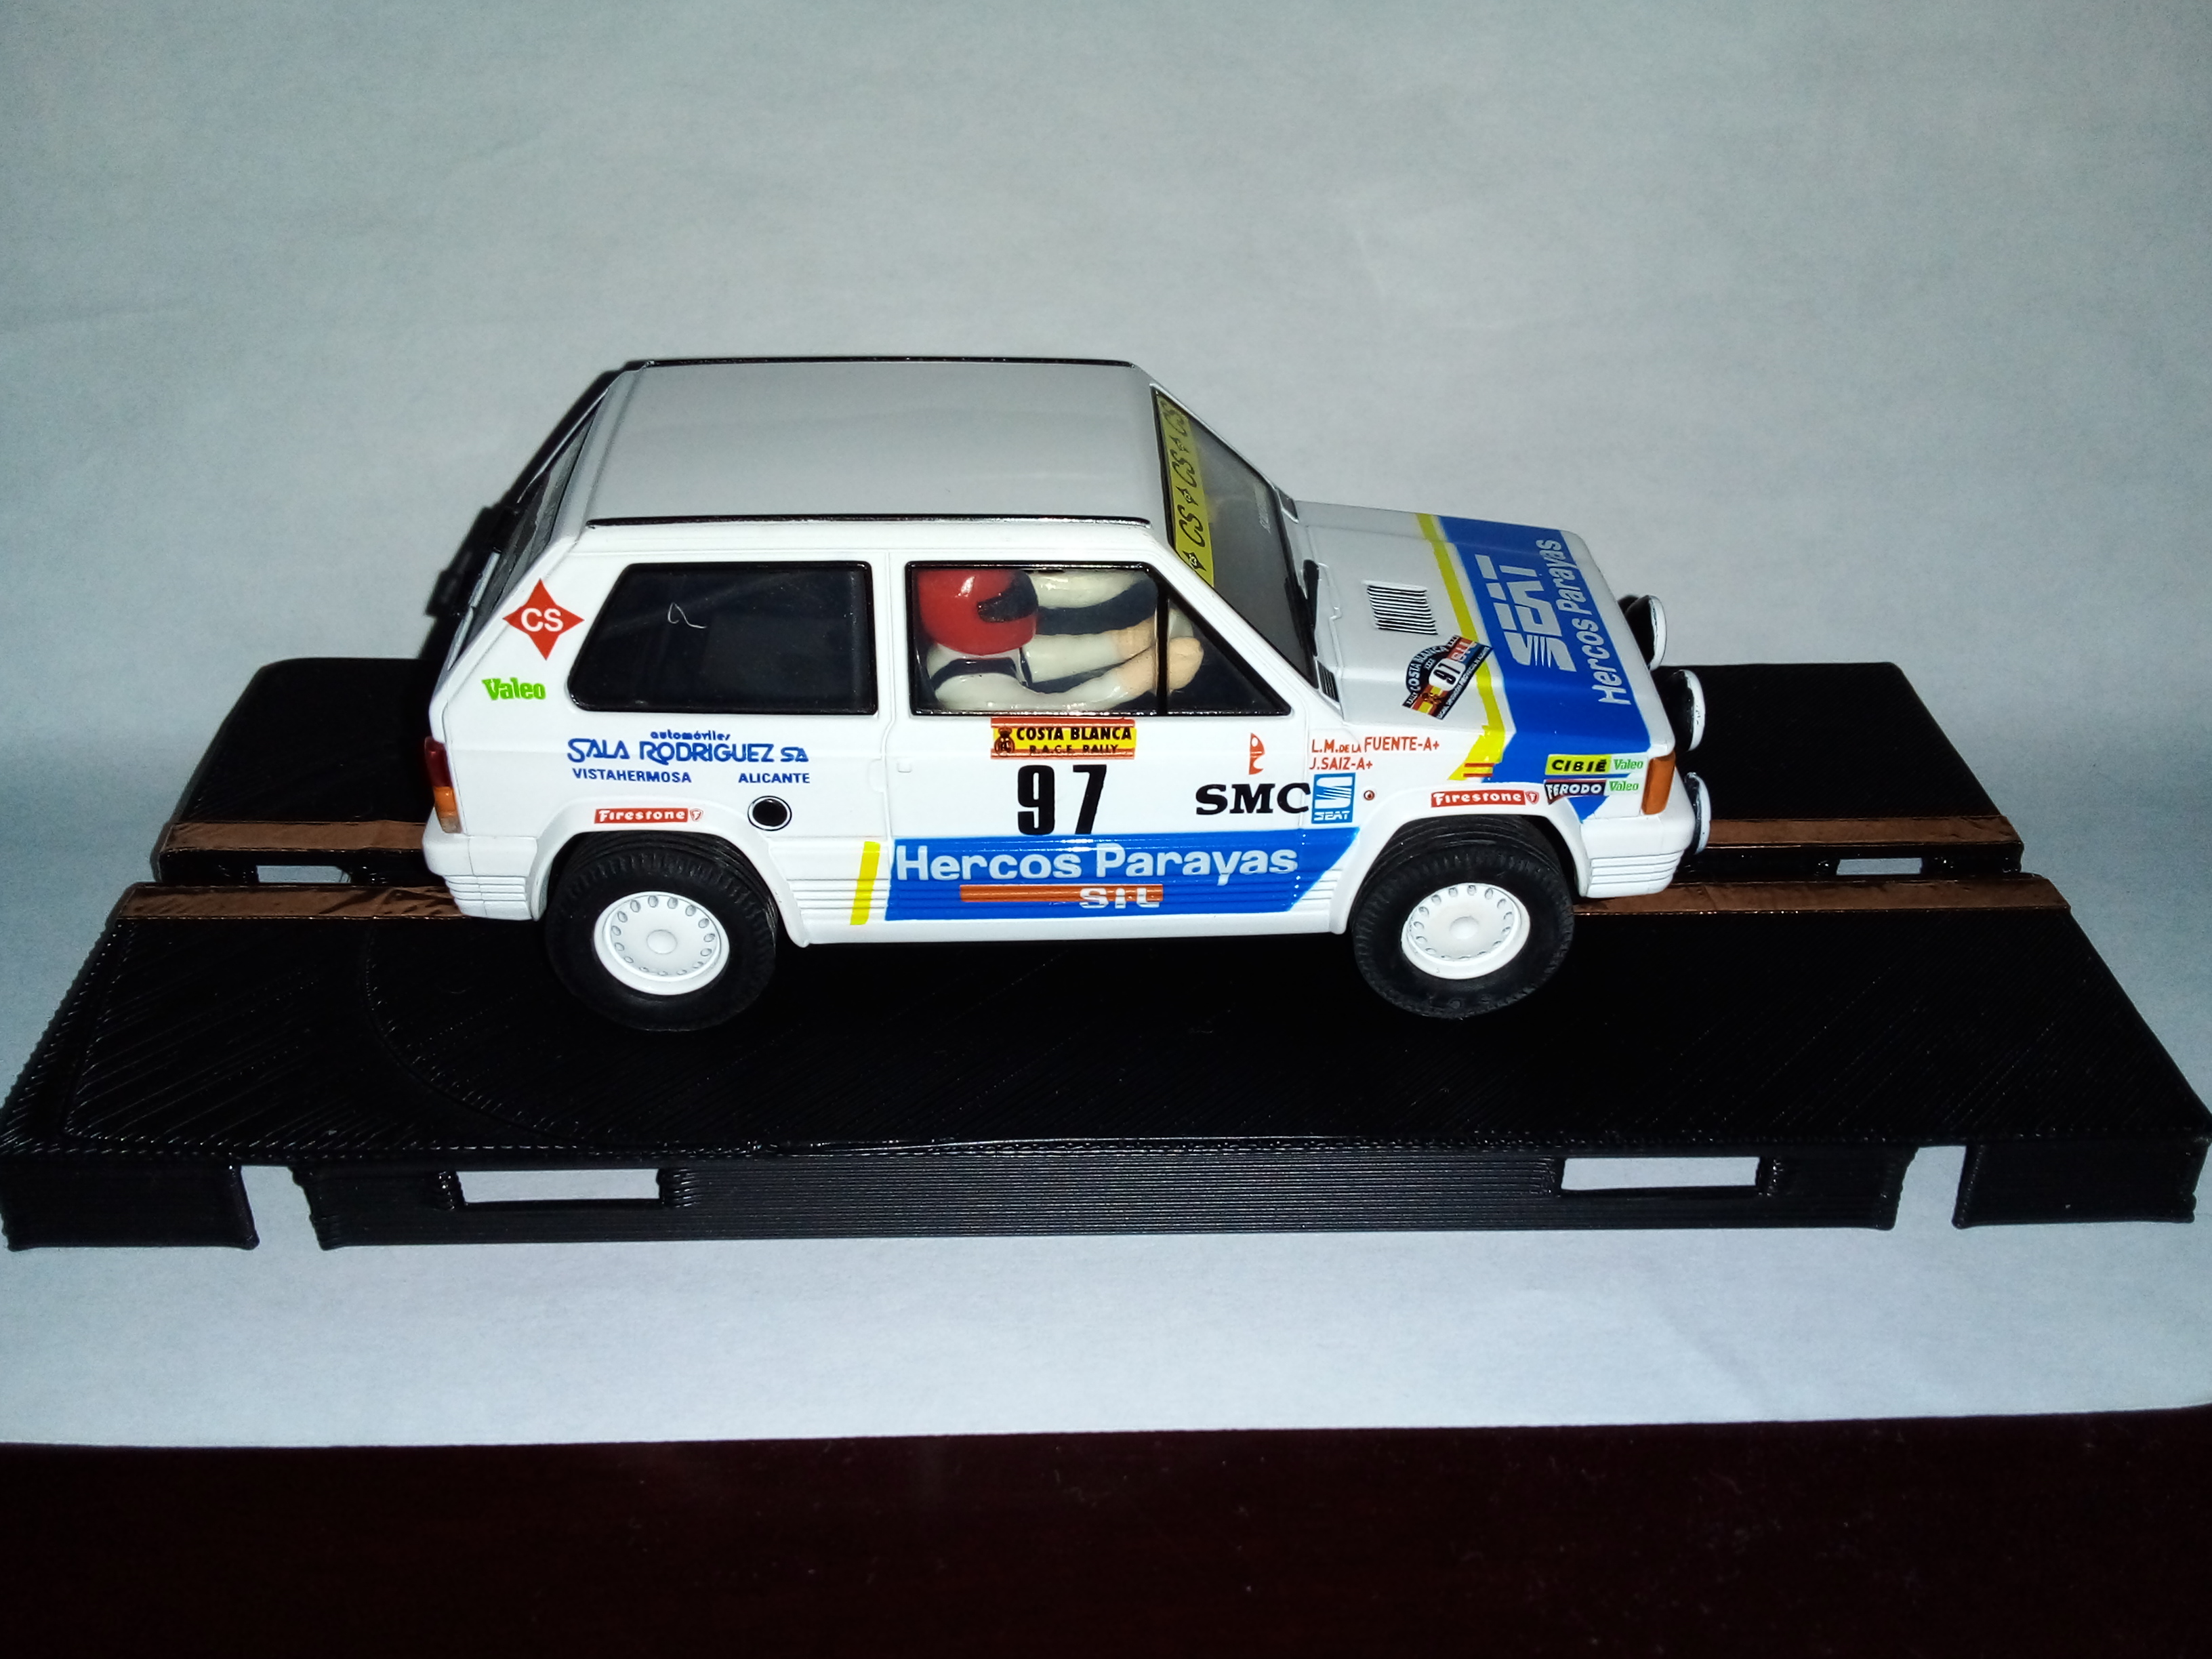


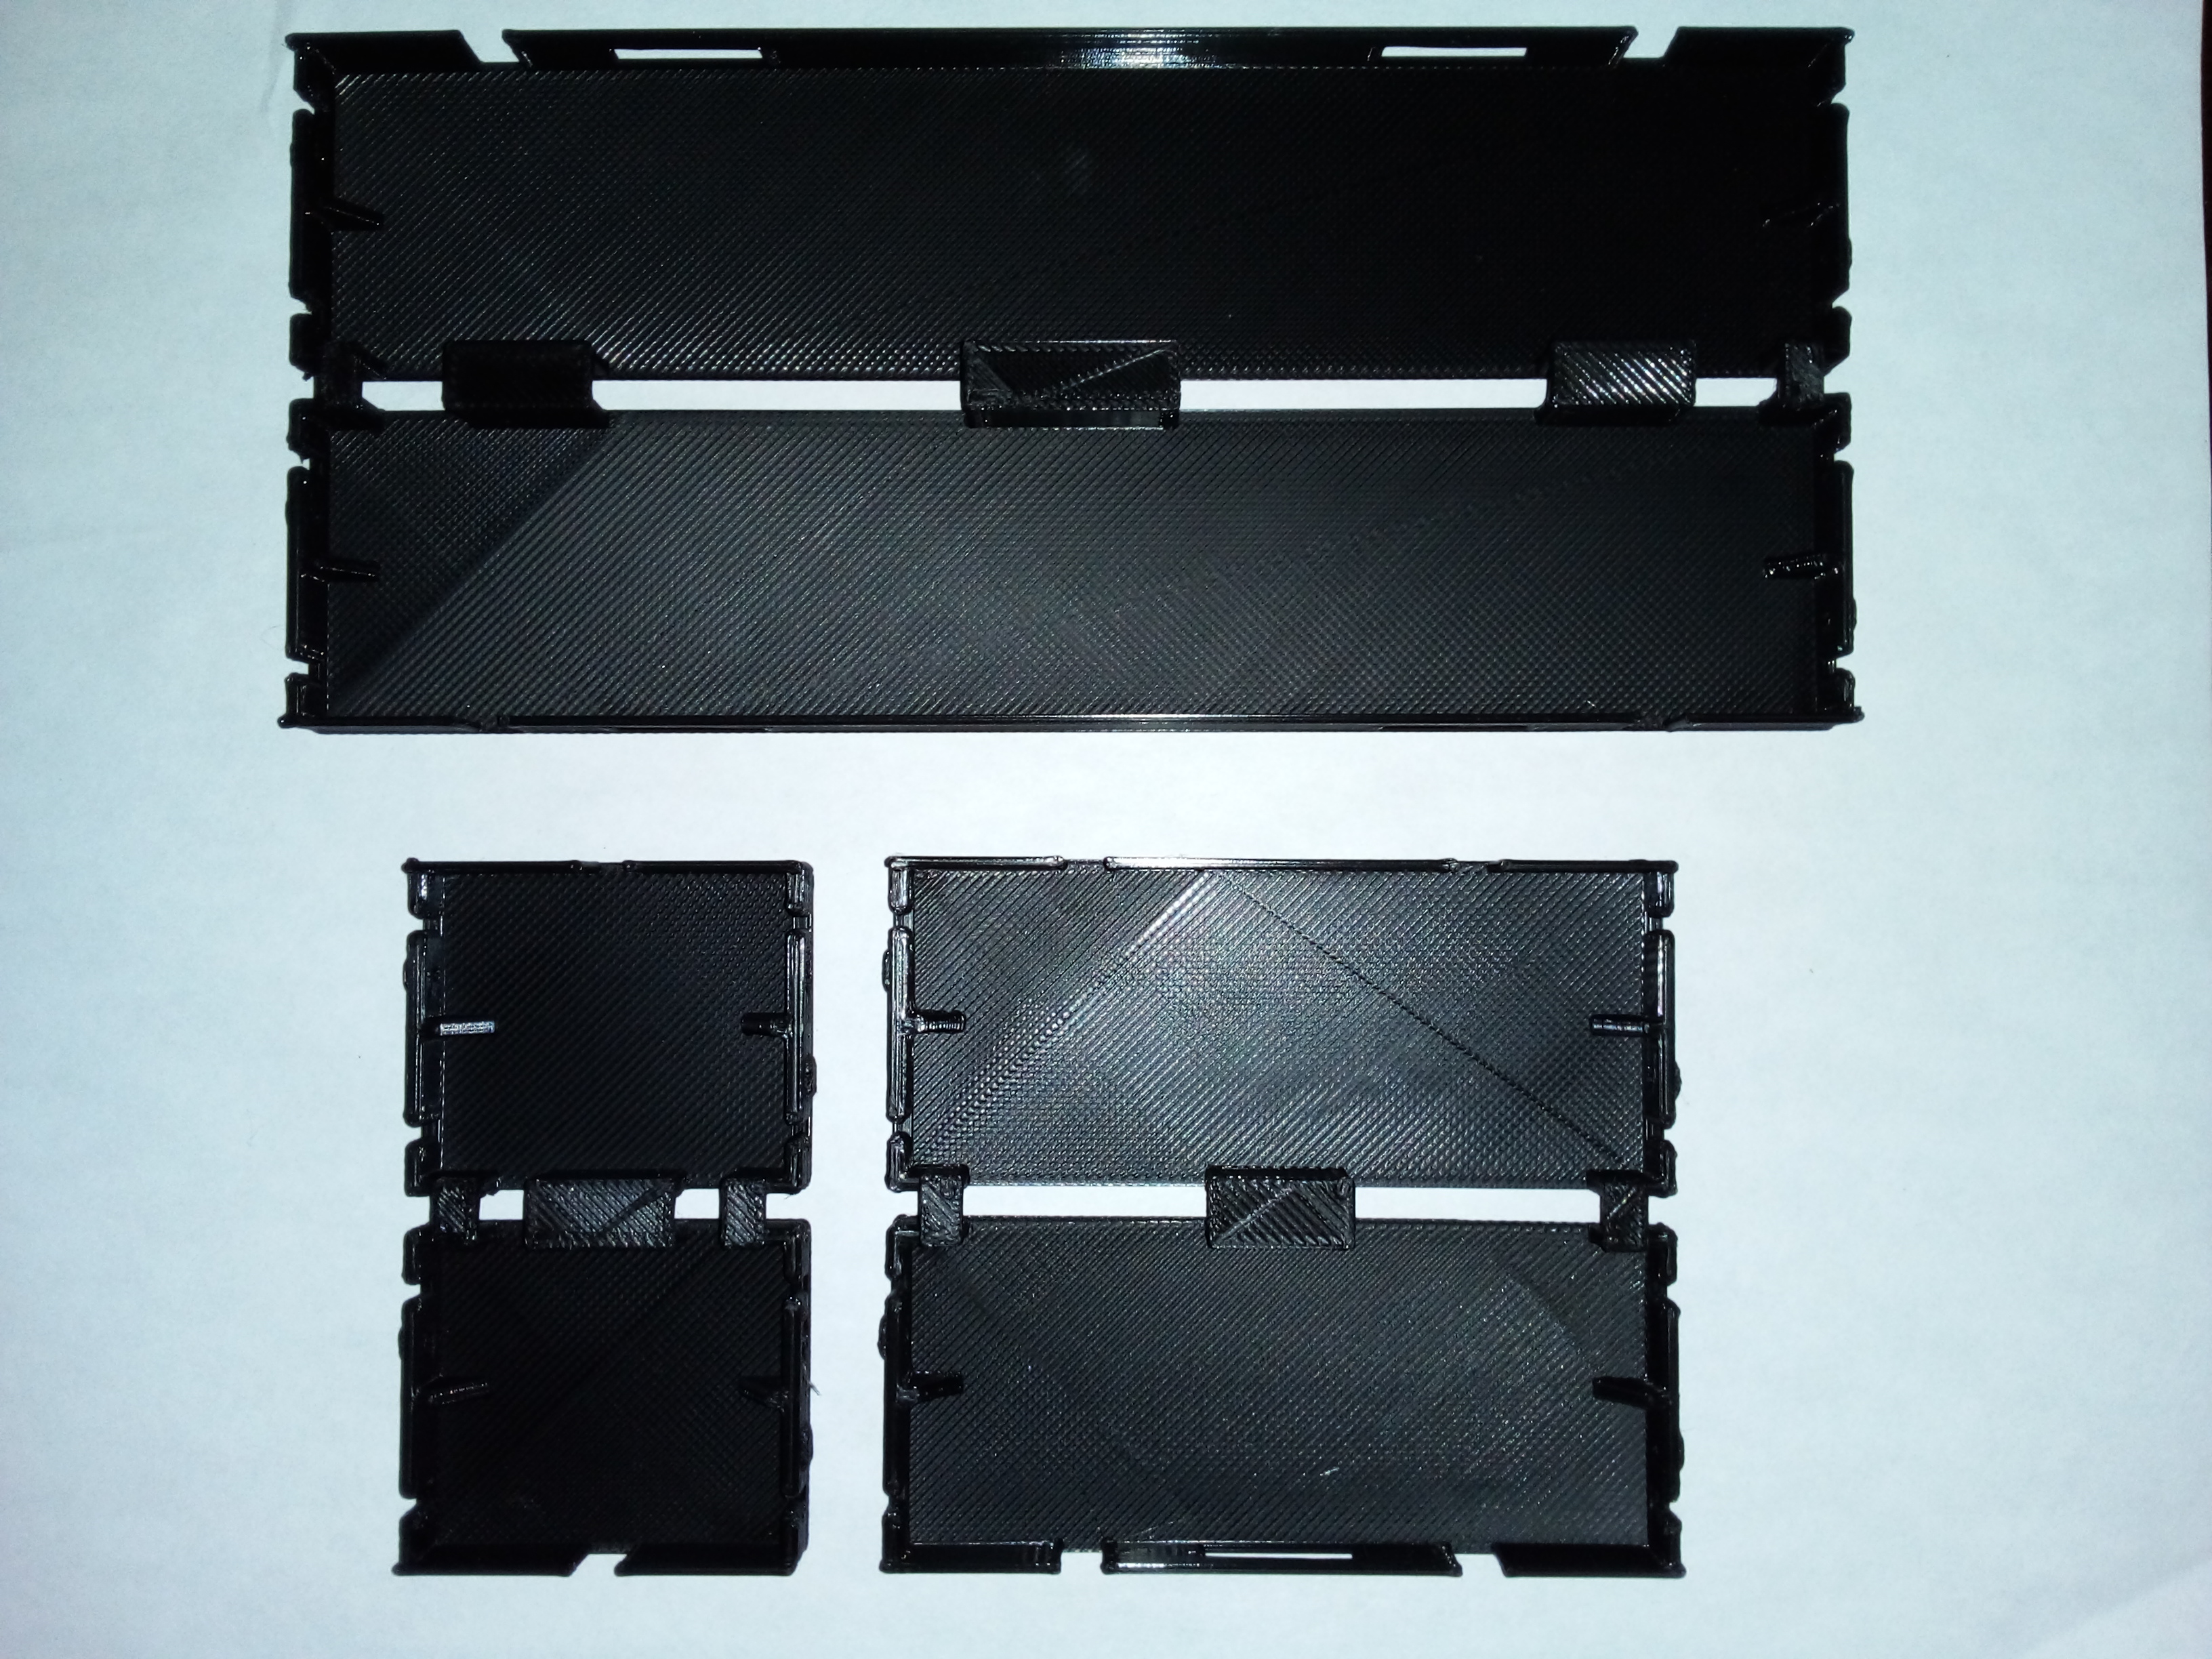
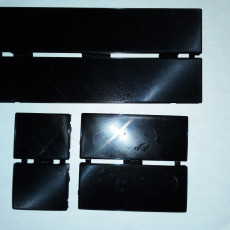
Hola amigo por fin pude imprimir algunos tramos del paquete de rectas ensamblen muy bien y el diseño esta bastante aceptable imprimi en una anet et4 con perfil de temperatura 190, cama 60, velocidad de impresion de 40, altura de capa 0.2, relleno al 100%, velocidad de retraccion 60, distancia de 4.2, velocidad de desplazamiento 90, la verdad imprimi muy bien con este perfil, solo que en los tramos mas cortos sufri algo de warping, pero en si los tramos mas grandes los imprime bien, creo que el warping es debido a nivelacion, las manchas que se ven en la superficie de los tramos es porque use laca de cabello para aderir mejor la primer capa, espero poder obtener el descuento del paquete de curvas ya que planeo comenzar a armar mi circuito de rally de un solo carril saludos